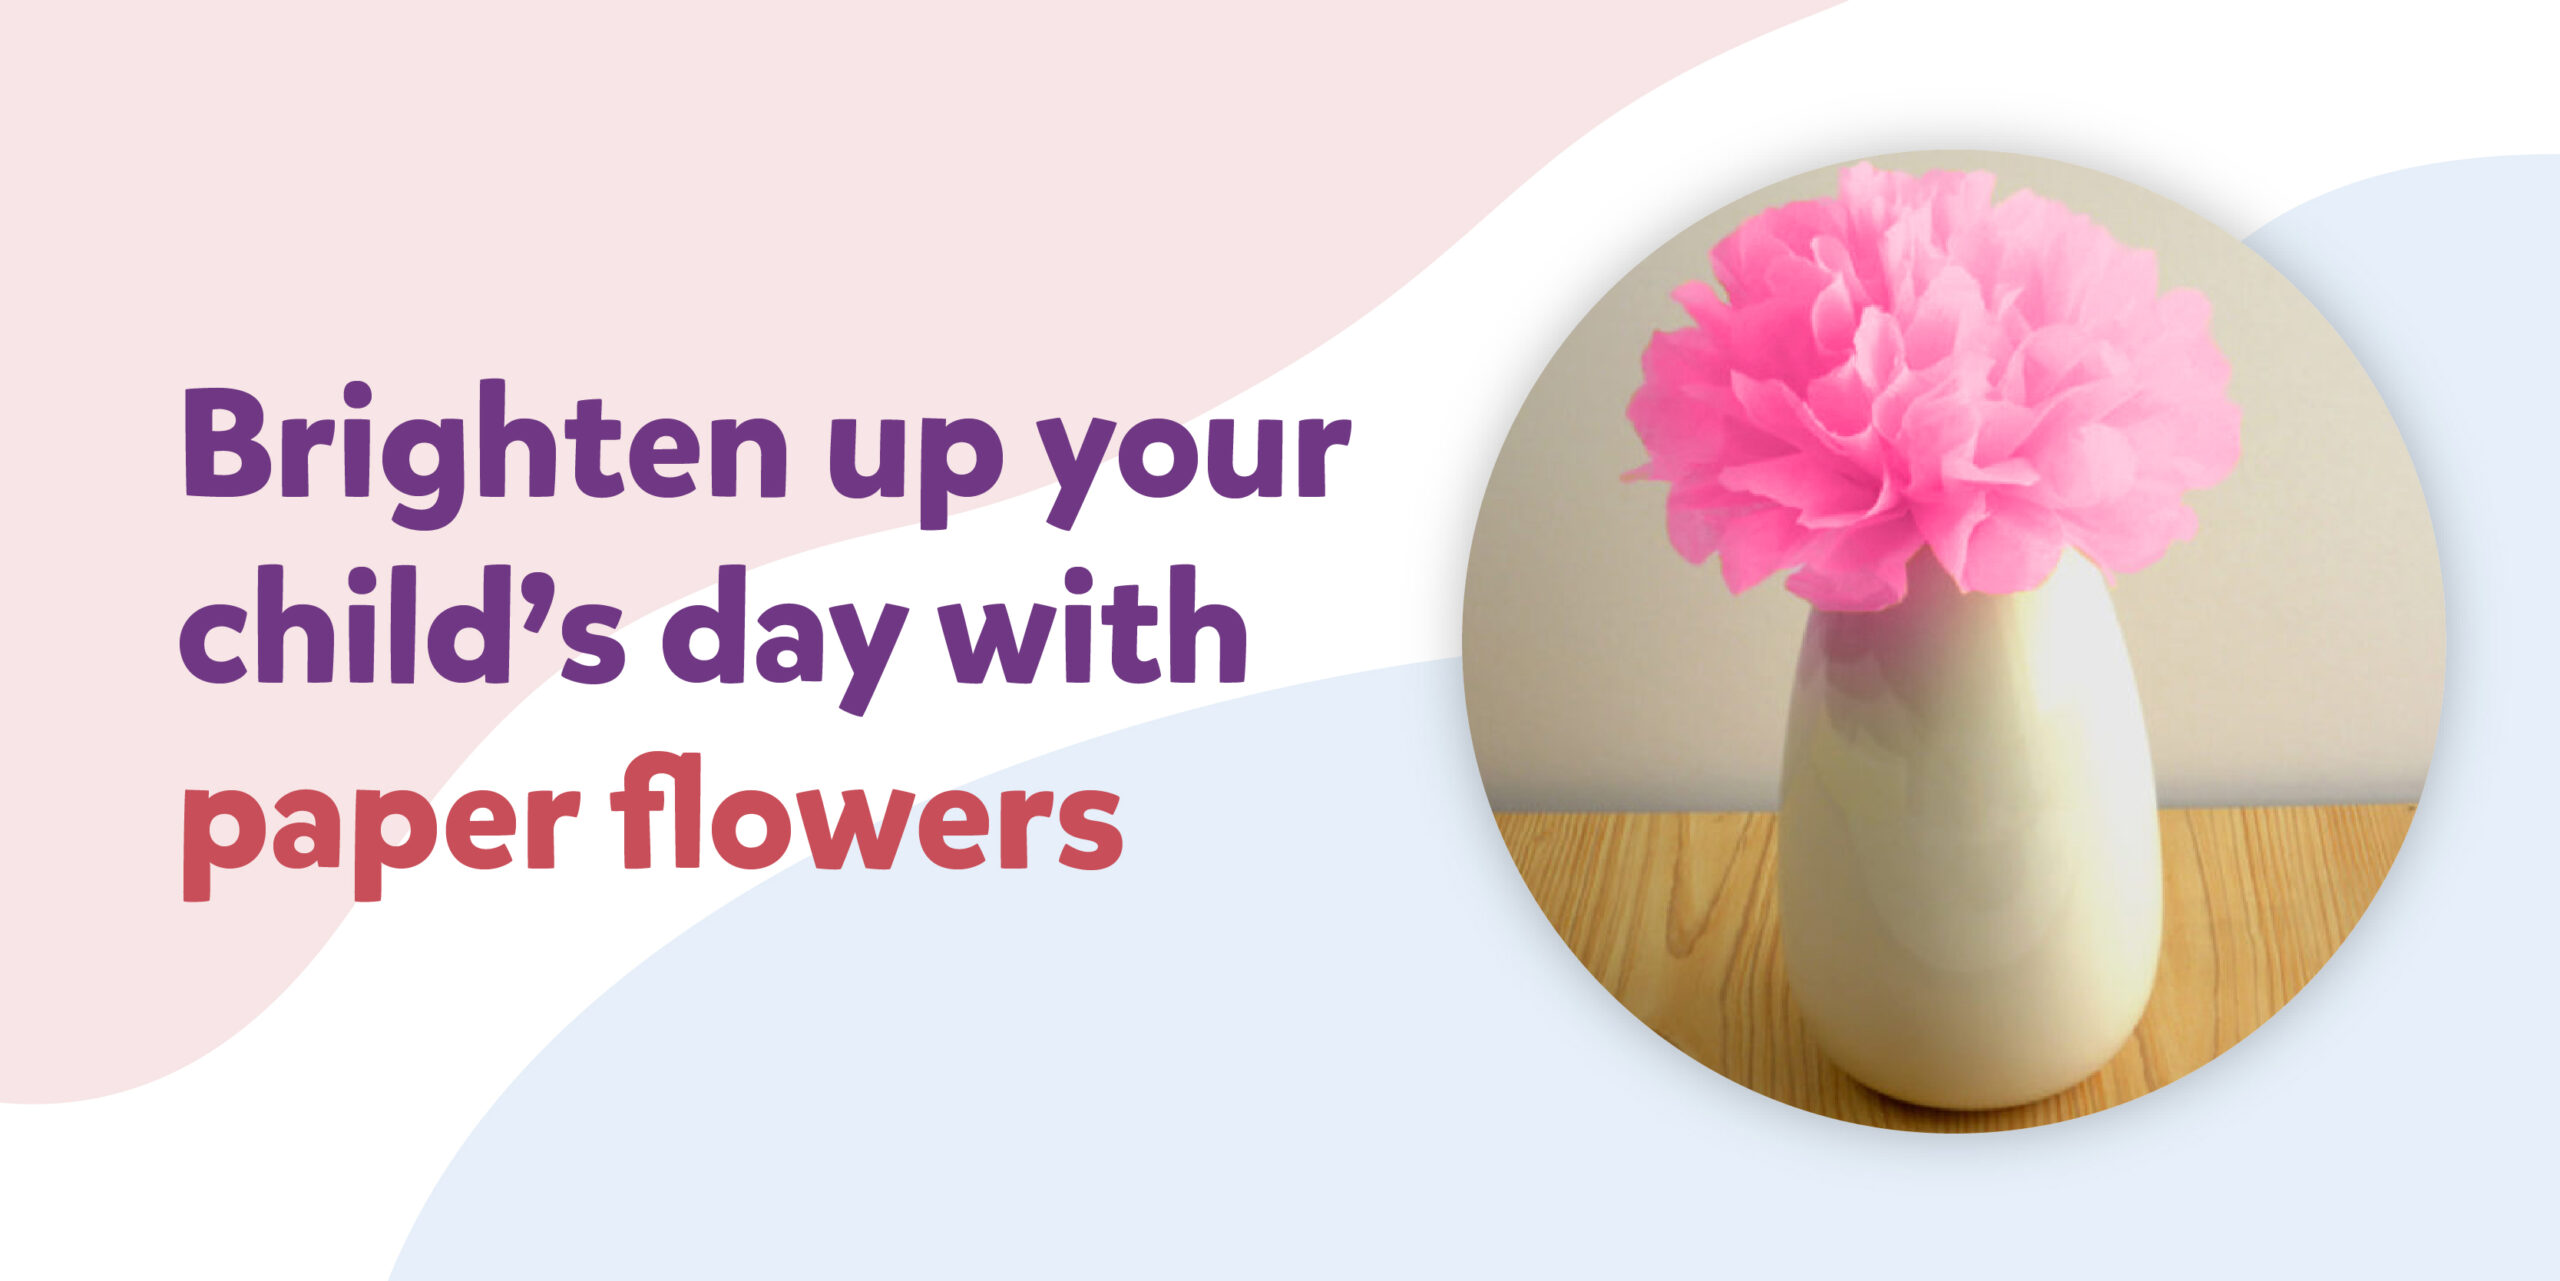
DIY Corner – Easy Paper Flowers
Wondering what’s next on our list that will cheer your little one and improve their handiwork? We have the perfect solution for you! Paper Flowers! This simple DIY activity will help you acquaint your child with a new type of flower – Peony – and give them room to get creative with paper.
During the course of this fun activity, you can tell them about different flowers, how they bloom and much more. Also, the use of paper will be another chance to teach them about recycling and creating beautiful things out of material that is otherwise considered waste.
Here’s how you can get started:
Things You Need
4 -5 plain or coloured tissue paper or square pieces of crepe paper
Stapler or a piece of string
Scissors
Paints (optional)
Toothbrush (optional)
Method
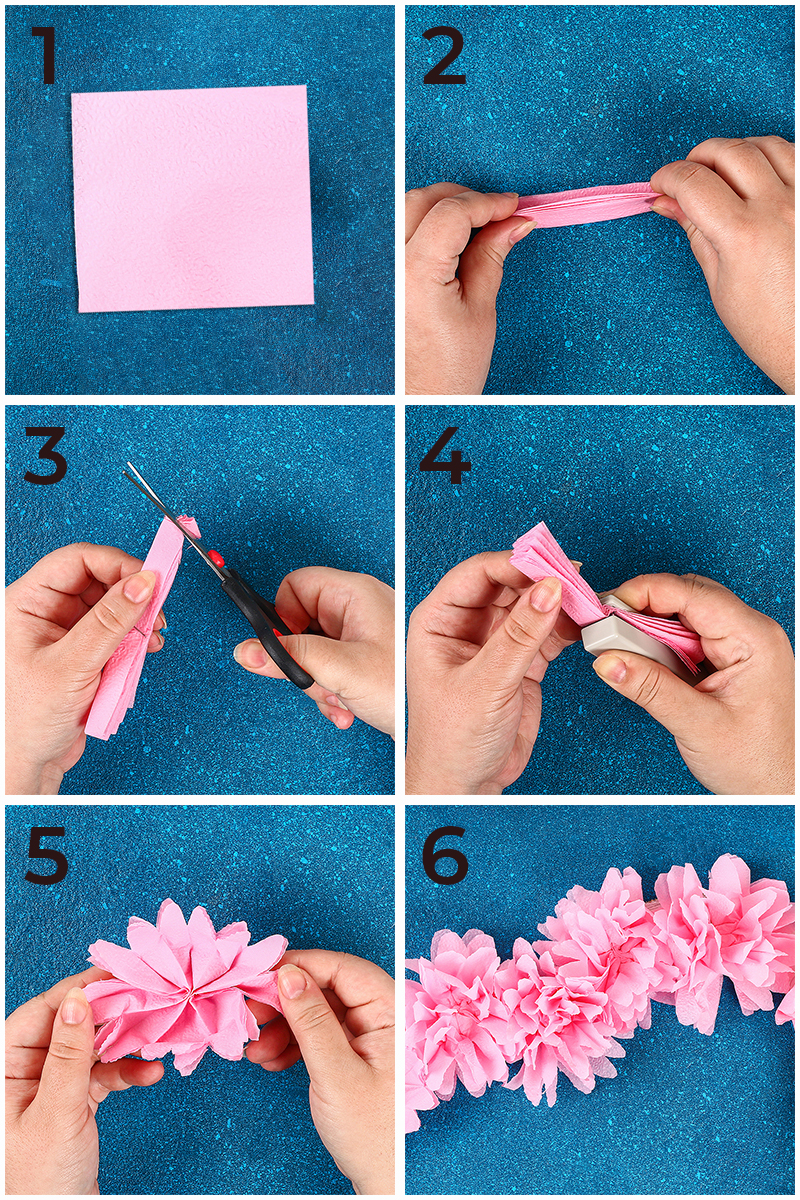
- Take one tissue paper or square crepe paper
- Spread it open on a flat surface
- Fold it in half, followed by folding it alternately like you would make a paper fan or accordion.
- Staple in the centre or tie a string that will help hold the shape.
- Smooth it out and slightly trim the two ends to make rounded edges.
- Start separating the petals by gently pulling them alternating in and out. (Refer to the image below)
- Once you have all the petals separated, you have a beautiful Peony to play or decorate your space with.
- You can mix and match different colour papers and create more flowers to give as gifts or simply brighten up your room!
Pro tip – Combine two different tones of the same colour for a dramatic effect. For example mix purple and lavender or light blue and dark blue etc. You can also use plain white tissues and use the toothbrush to spray it with paints of your choice.