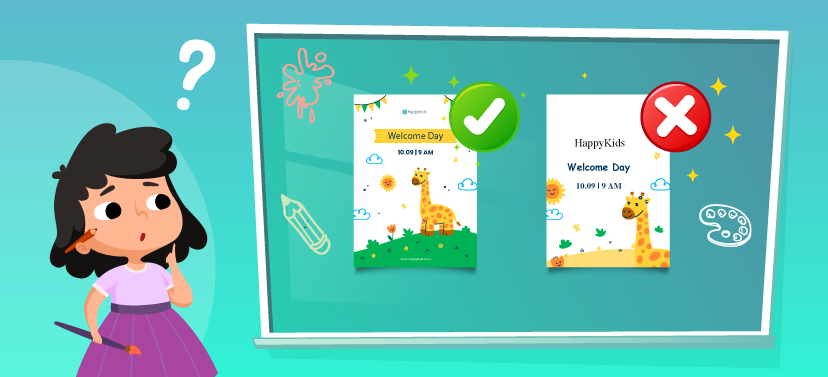
Hey little artists!
Welcome to our step-by-step guide on how to make a poster for children. You must have made posters for a school project or simply for fun. Have you ever thought about what it would take to make a poster that leaves a lasting impression in the minds of people who see it? We did!
Today, we will explore how to make a poster that allows you to express your creativity while communicating important messages. Are you excited?
So, let’s get started!
Step 1: Find out why you’re making the poster. Before you start working on your poster, find out the topic and reason behind choosing this topic. The reason could be something as simple as – I care deeply about this problem, so I want everyone to know this. Moreover, think about people who will be seeing your poster and what they might expect. For example, a poster for a school project on the ‘water cycle’ will be very different from a poster for an exhibition on ‘save water’.
Step 2: Shortlist the topic. Once you know the topic, go deeper into it and focus on the exact message you would like to share. For example: ‘Exercise’ is a big topic for a poster. You might want to narrow it down to ‘exercise for children,’ ‘types of exercises,’ ‘benefits of exercise,’ etc.
Step 3: Do the research. Learn as much as you can about the topic or message that you want to convey through your poster. Read different articles and books on the topic that are available in the library. Do take notes and highlight parts that you find interesting. Here’s a tip for finding captivating details- if it makes you want to read more and share it with your friends or parents, then it is likely to be an interesting piece of information.
Step 4: Know how a poster is different from a report. A written report demands fancy language and longer phrases to convey the necessary information. Posters need shorter, easy-to-read sentences. Try to limit the poster to 10 sentences. Add pictures or photos to help explain what you have said in fewer words. For example, a picture of the water cycle will reduce the number of words needed to explain the water cycle on the poster.
Step 5: Select relevant images. Posters are highly visual. That is why we need to use images that are visually appealing. Ensure that the images are colourful. You could also try to draw and create your own picture to ensure it fits perfectly with the poster’s theme.
Step 6: Arrange the poster’s text and pictures. Think of how to arrange text and images on the poster. Figure out the ideal placement so that the information is presented in a clear order. The next step would be to choose appropriate colours. Do maintain the contrast so that people can easily read the message. Experiment with different colours and backgrounds if you are creating the poster digitally on a computer.

Step 7: Proofread and publish. The last step is to proofread the poster and make it error-free so that it can be published for everyone to see. It may be a good idea to have someone else go through the poster to proofread it. Remember to add the list of references. And voilà, your poster is ready. Display it somewhere, such as an exhibition where everyone can see it.
Congratulations! Now you know how to convey a powerful message through your poster!
Would you like to add more details to the above pointers? Have you ever made a poster before? Let us know in the comments below.
Also read,
“Me-kha-la!” That happens at least once when she introduces herself to new people. She wholeheartedly believes in the quote by Arthur Rubinstein that says – “if you love life, life will love you back”. She is an organizational psychologist and psychometrician. She was a class teacher of 36 adorable girls for two years, grades 2 & 3, as a part of the Teach For India Fellowship. These little girls have a special place in her heart, and when she writes for children, she writes for them!