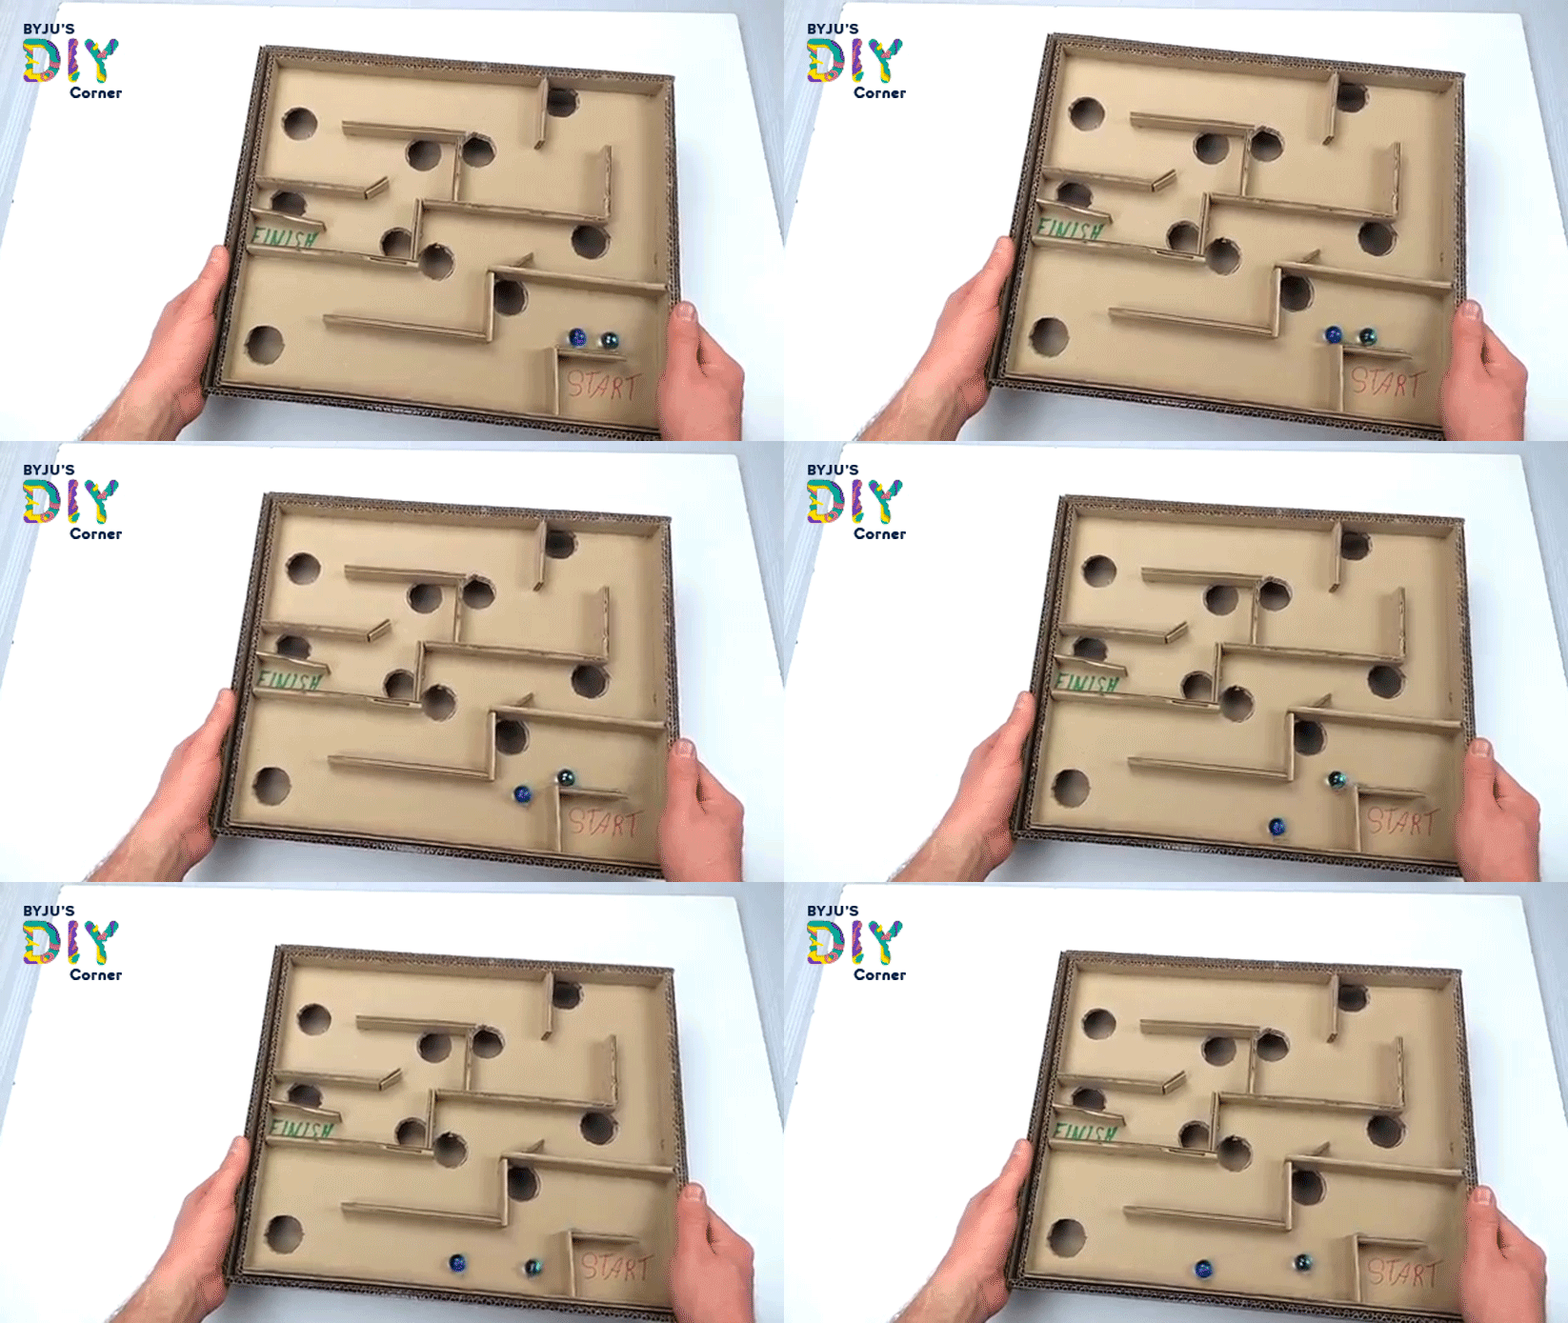
In this age of video games and apps, there are certain old games that are still very engaging, relaxing, and bring a smile to people of all age groups. While these are super fun to play, they also help in developing cognitive skills and critical-thinking abilities, as well as improving memory retention.
One such game is the Marble Maze Box! There’s something immensely satisfying and relaxing about manoeuvring a ball successfully through a challenging maze; hence, this game has managed to find a permanent spot in almost every party.
“It is a confusing path, hard to follow without a thread, but, provided [you are] not devoured at the midpoint, it leads surely, despite twists and turns, back to the beginning.” — Plato
To put it in simple words, maze games are like treasure hunts. You need to solve some puzzles, put your math skills into practice, have a strong hand-and-eye coordination and solve the maze to win the trophy.
People often confuse maze with labyrinths. While both these terms are often used in place of one another, they are definitely NOT the same!


Now, let’s learn how to make a Marble Maze Box at home
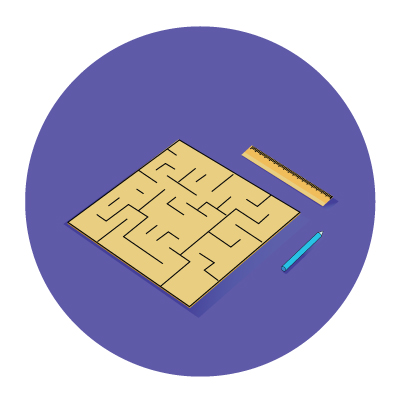
Take a cardboard box of 30cm X30cm

Work your way into creating a maze pattern
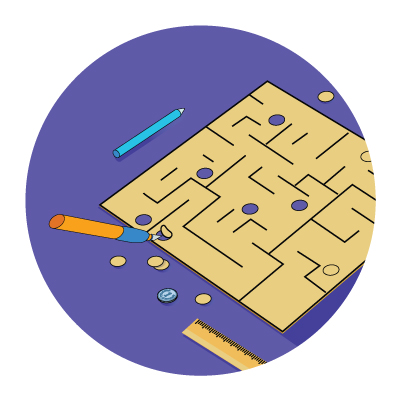
Take a coin. Place it in one corner and mark its outer circumference with a pencil. Take a paper cutter and neatly cut it out along the marked outline. Make sure at this stage you take help from an adult. Cut out around 4 to 5 holes on random areas on your maze board.
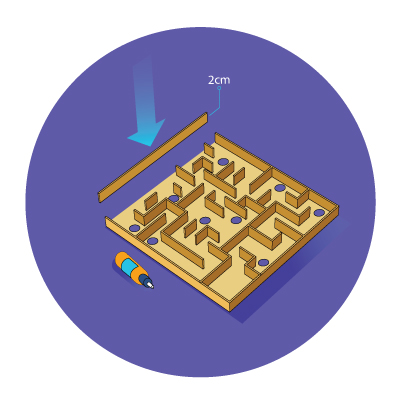
Place 2 cm wide cardboard pieces on the border so that the marble doesn’t slip out of your maze box. With some glue, stick them together.
Glue similar types of 2 cm wide cardboard pieces on the maze lines as well.
Now it’s time to decorate your board. Bring out your creative juices and decorate your board with colours and crafts (totally optional).
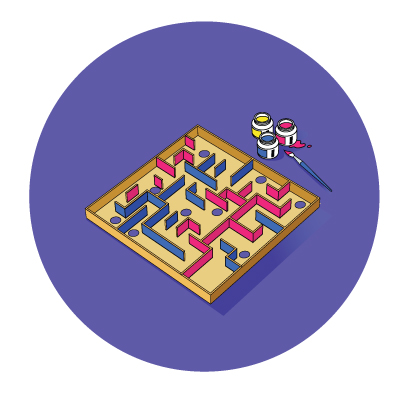
Now add a ‘start’ and a ‘finish’ point on your maze box.
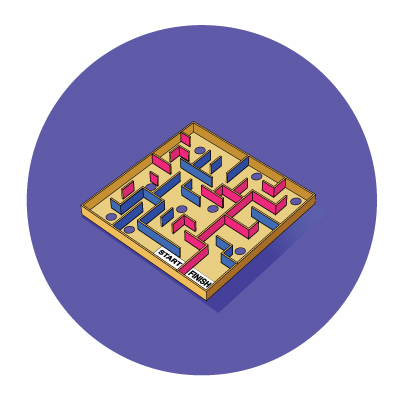
Your maze is ready! Keep it aside.
Now you need to make a base box to balance the maze board.
Take another cardboard box which is 30.2 cm X 30.2 cm. Add border strips of 5 cm wide on all four corners.
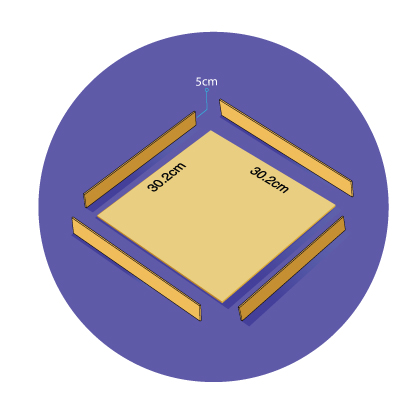
Cut out a small 2 cm on one of the border strips.
Take a glue and stick all the four borders together onto the cardboard box.
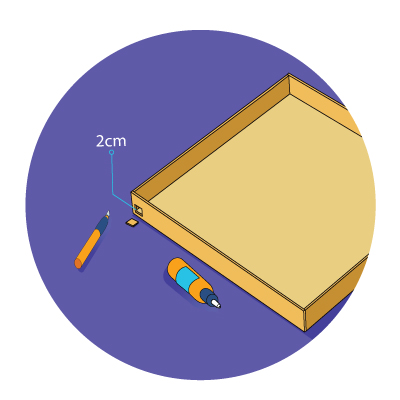
Take two small strips of 2 cm each. Glue these two sticks parallel on the inner side of the 5 cm strips. (Refer to the below image to understand better)
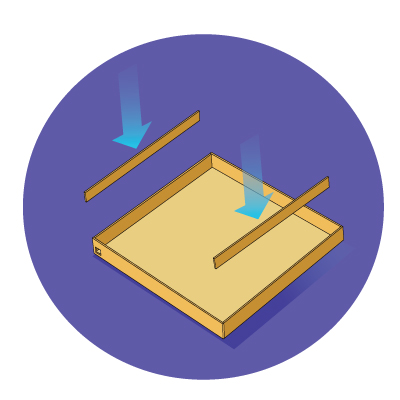
Your base box is now ready!
Place the decorated maze board on top of this base box so that it sits comfortably on top of the two 2 cm cardboard strips.
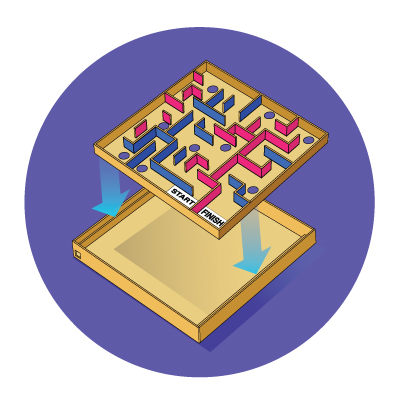
It’s time to play! Get your friends along as you compete in this friendly marble maze game.
Enjoy playing!
Did you enjoy this DIY activity? How did you decorate your board? Do tell us in the comments below.
Explore other creative DIY activities on The Learning Tree Blog.
Books are Tanaya Goswami’s first love and cheesecakes come a close second. Talking about movies, music, calligraphy, politics, and Elon Musk will get you listed under the friends’ section of her diary. Ever since moving on from her job as an English lecturer, she spends her time at BYJU’S crafting stories filled with emotion and sprinkled with sarcasm. Outside of work, she’s either learning something new (French, most recently!) or is curled up with a book and a cup of coffee. She firmly believes that discovering what you don’t know is the key to knowledge and is constantly working towards improving herself. Drop in a line at storyweavers@byjus.com if you liked her stories, have something nice to say, or if you have compelling ideas to share!
Comments
Madhusri?
June 10, 2021
???
Mahitha hithendran
June 8, 2021
Super I like it
Sneha manoj gawande
May 11, 2021
Very interesting fun game
Gaurya Naik
March 25, 2021
I will surely try this after my exams ???
Divyanshi Rathore
March 10, 2021
??????????????
Vinita
March 5, 2021
Thank you. Byjus for such wonderful DIY l made its looking too beautiful……..
Pihu Tiwari
February 14, 2021
Flaw-less! It was awesome, I am gonna try this out for sure! Impressive work, great going. kudos…
bibin robase
February 11, 2021
It’s so fun. Thanks BYJU’S
Abhisar Singh
February 10, 2021
Nice, it’s marvellous ,plus it is DIY so it is easy, we can try it at and intersting. I will definetly try it at home.
Pooja v
February 8, 2021
It’s very interesting DIY and very simple and easy to make. Thank you byju’s for this amazing DIY??.
Mourosi Pal
February 2, 2021
That’s amazing!! I will definitely try it at home. Thanks Byju’s ☺️☺️