DIY With Todd – How To Make Stickers At Home
Team StoryWeavers|January 30, 2023, 17:52 IST|
1
Hello there!
I am Todd, the in-house DIY expert. I have something very exciting for you to do in this episode of DIY with Todd. Today, we are going to learn how to make stickers at home!
These stickers can be used anywhere – from your favourite notebook to a greeting card. You can also gift them to your friends or make a few stickers celebrating your friendship.
So, let’s make some DIY stickers!
Things needed:
- Blank paper
- Sketch pens
- Crayons
- Transparent adhesive tape
- Scissors
- Wax paper
- Writing board, preferably plastic
Procedure to make stickers at home:
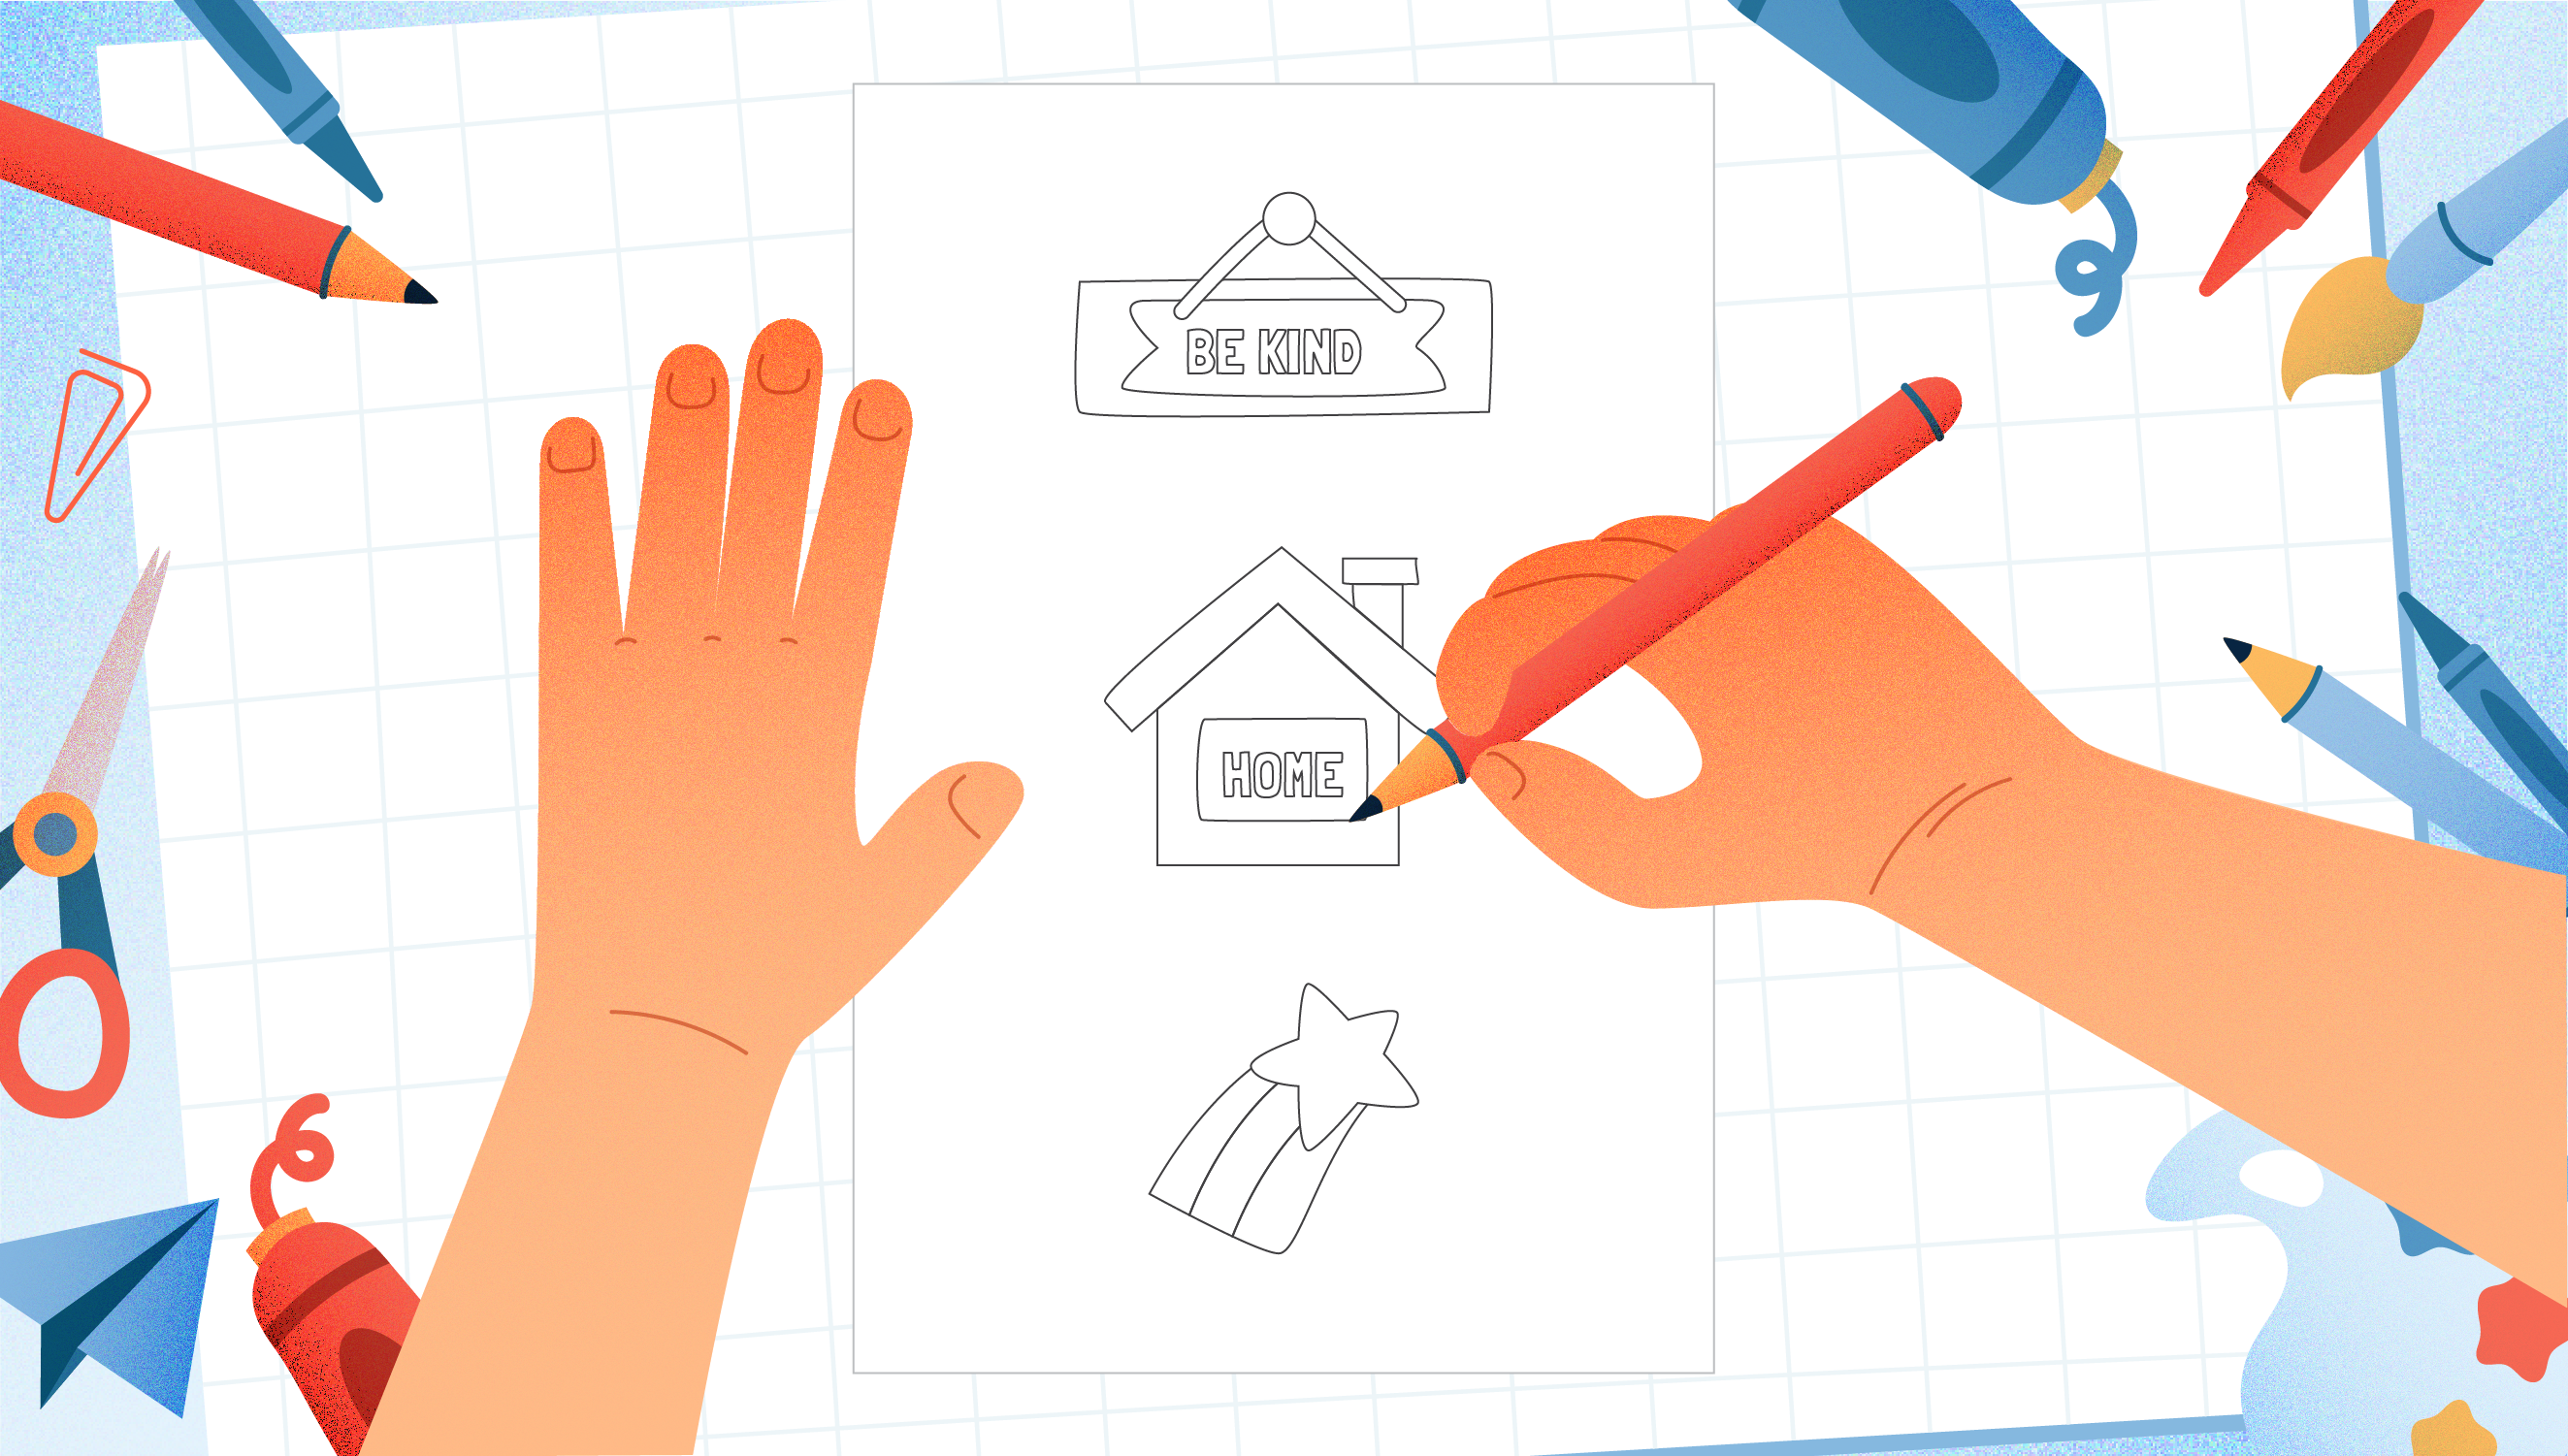
- Step 1: Draw a few interesting items using sketch pens on a sheet of paper, such as a star, a home, flowers, your favourite quote like ‘Be kind’, and so on. Remember to keep enough gaps between the pictures so that you can cut them up easily.
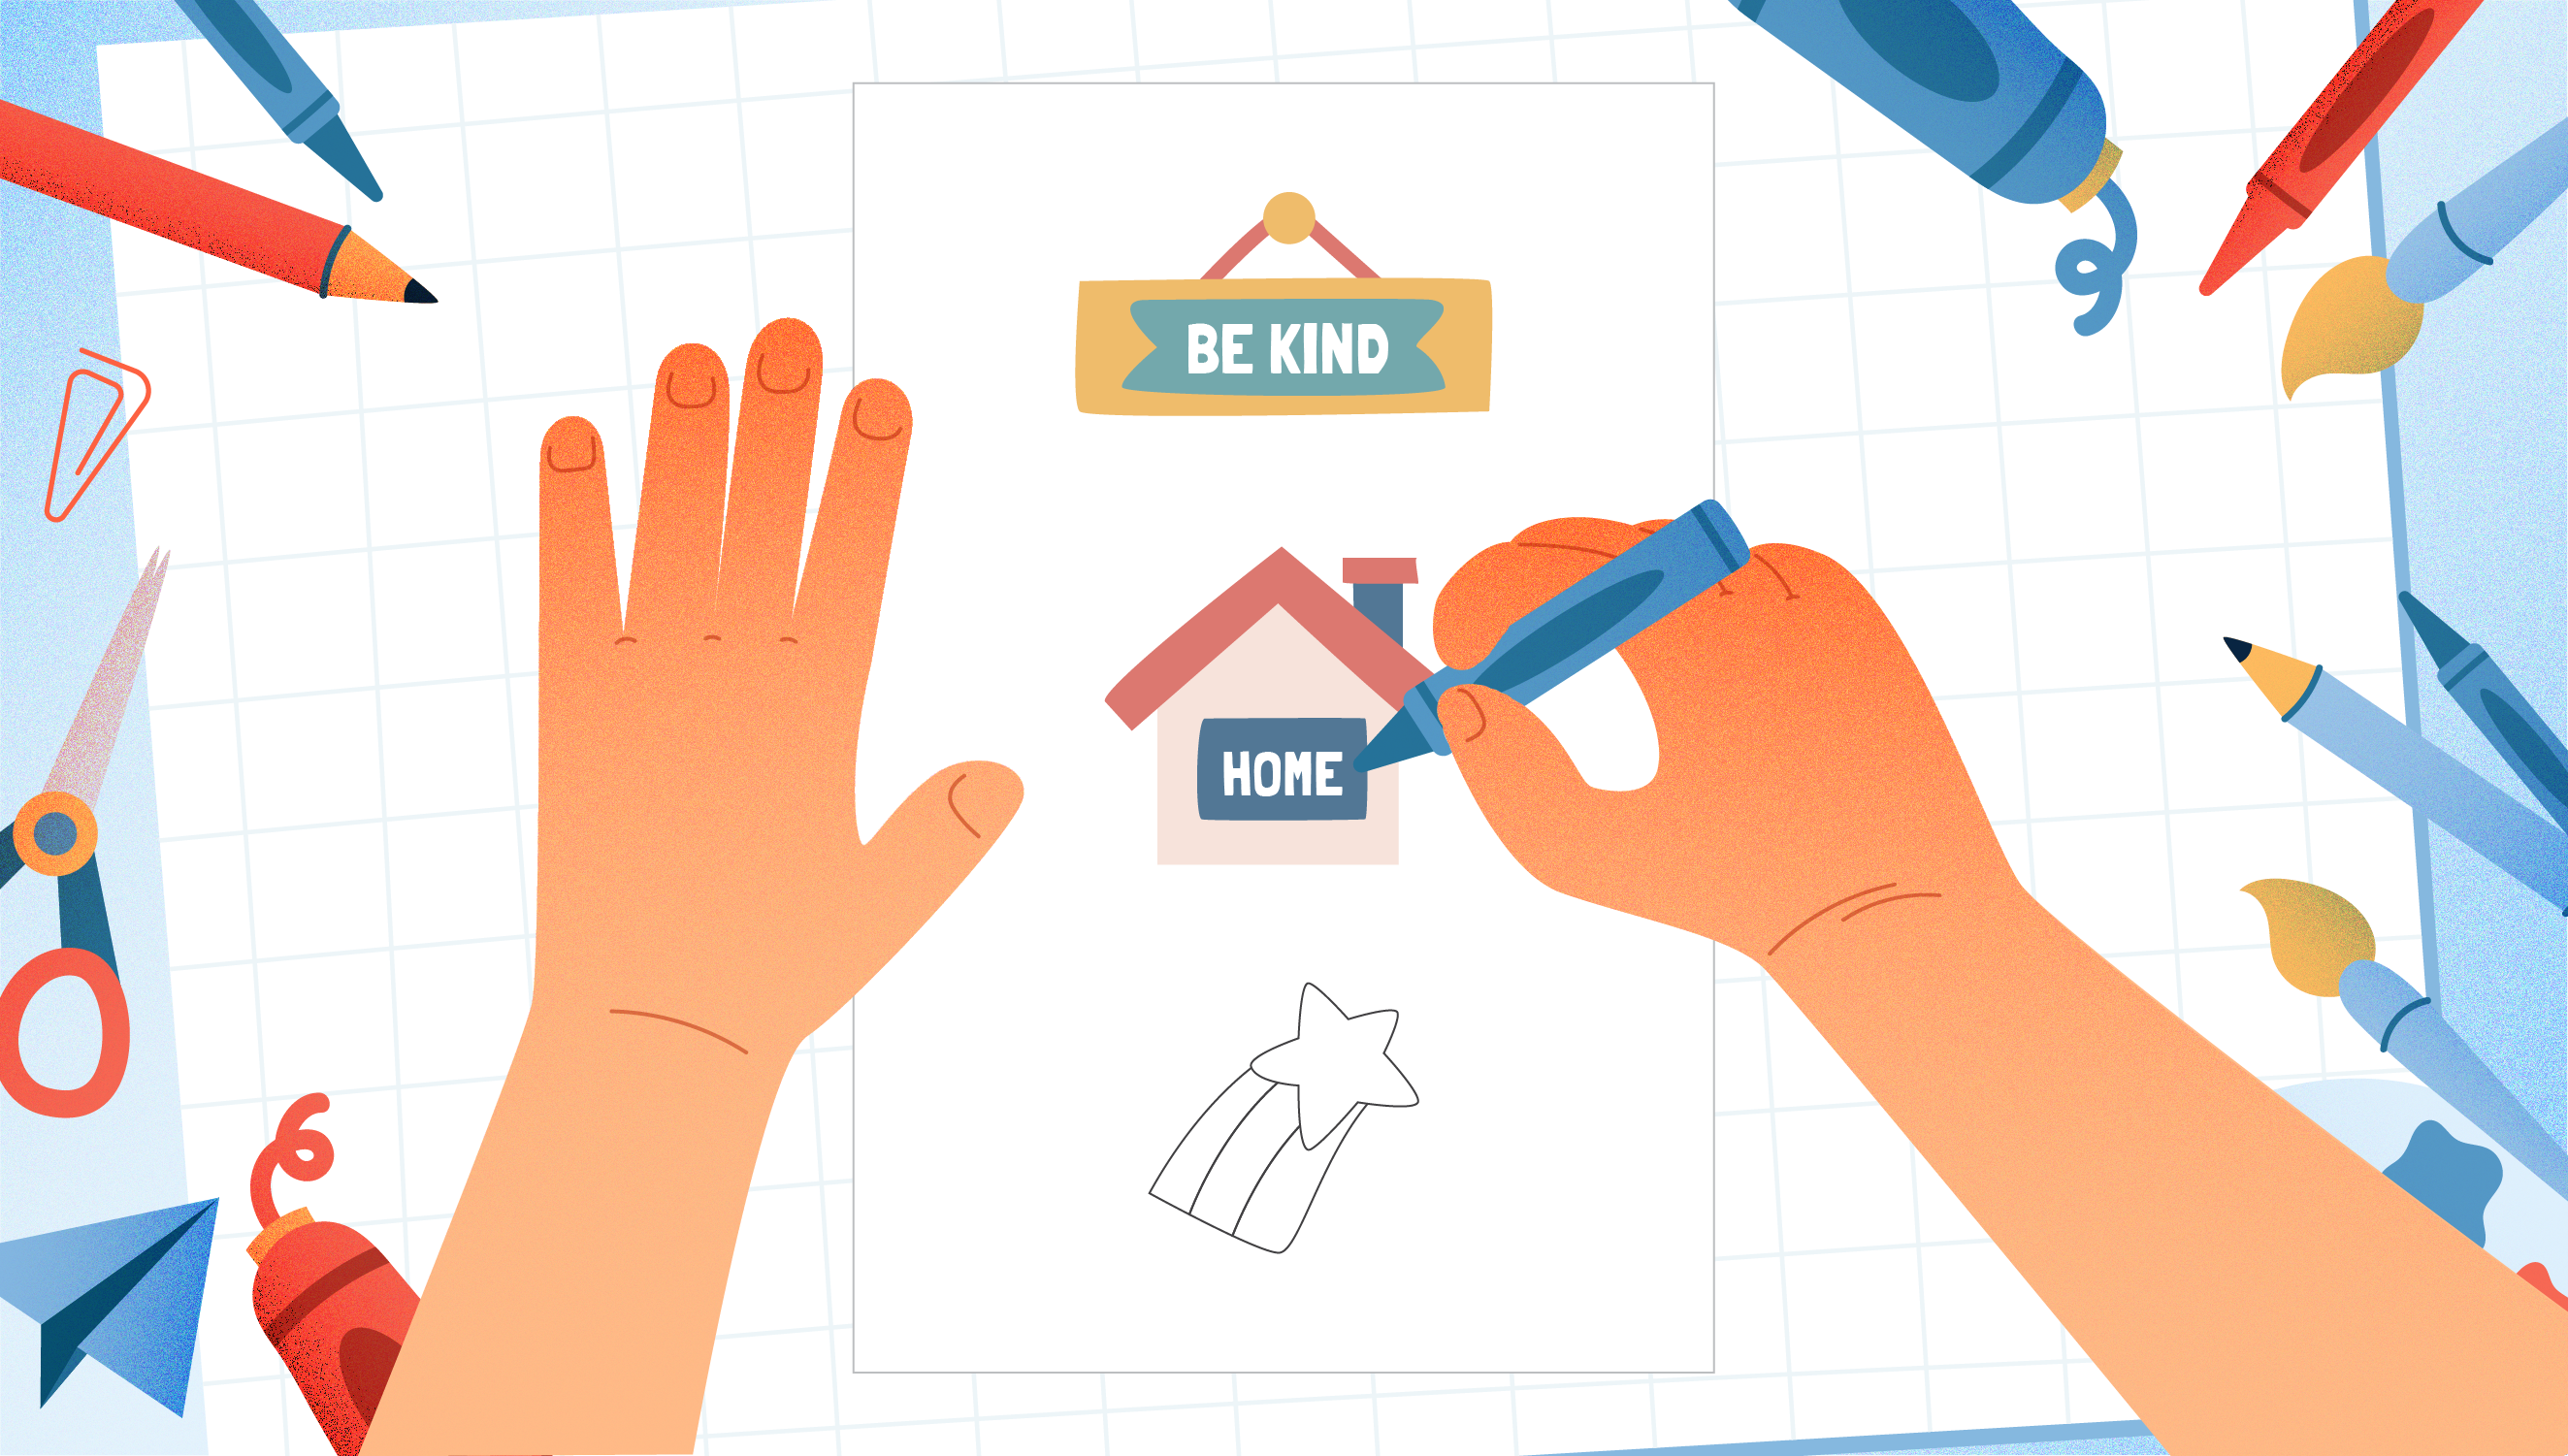
- Step 2: If you want, you can colour them with crayons.
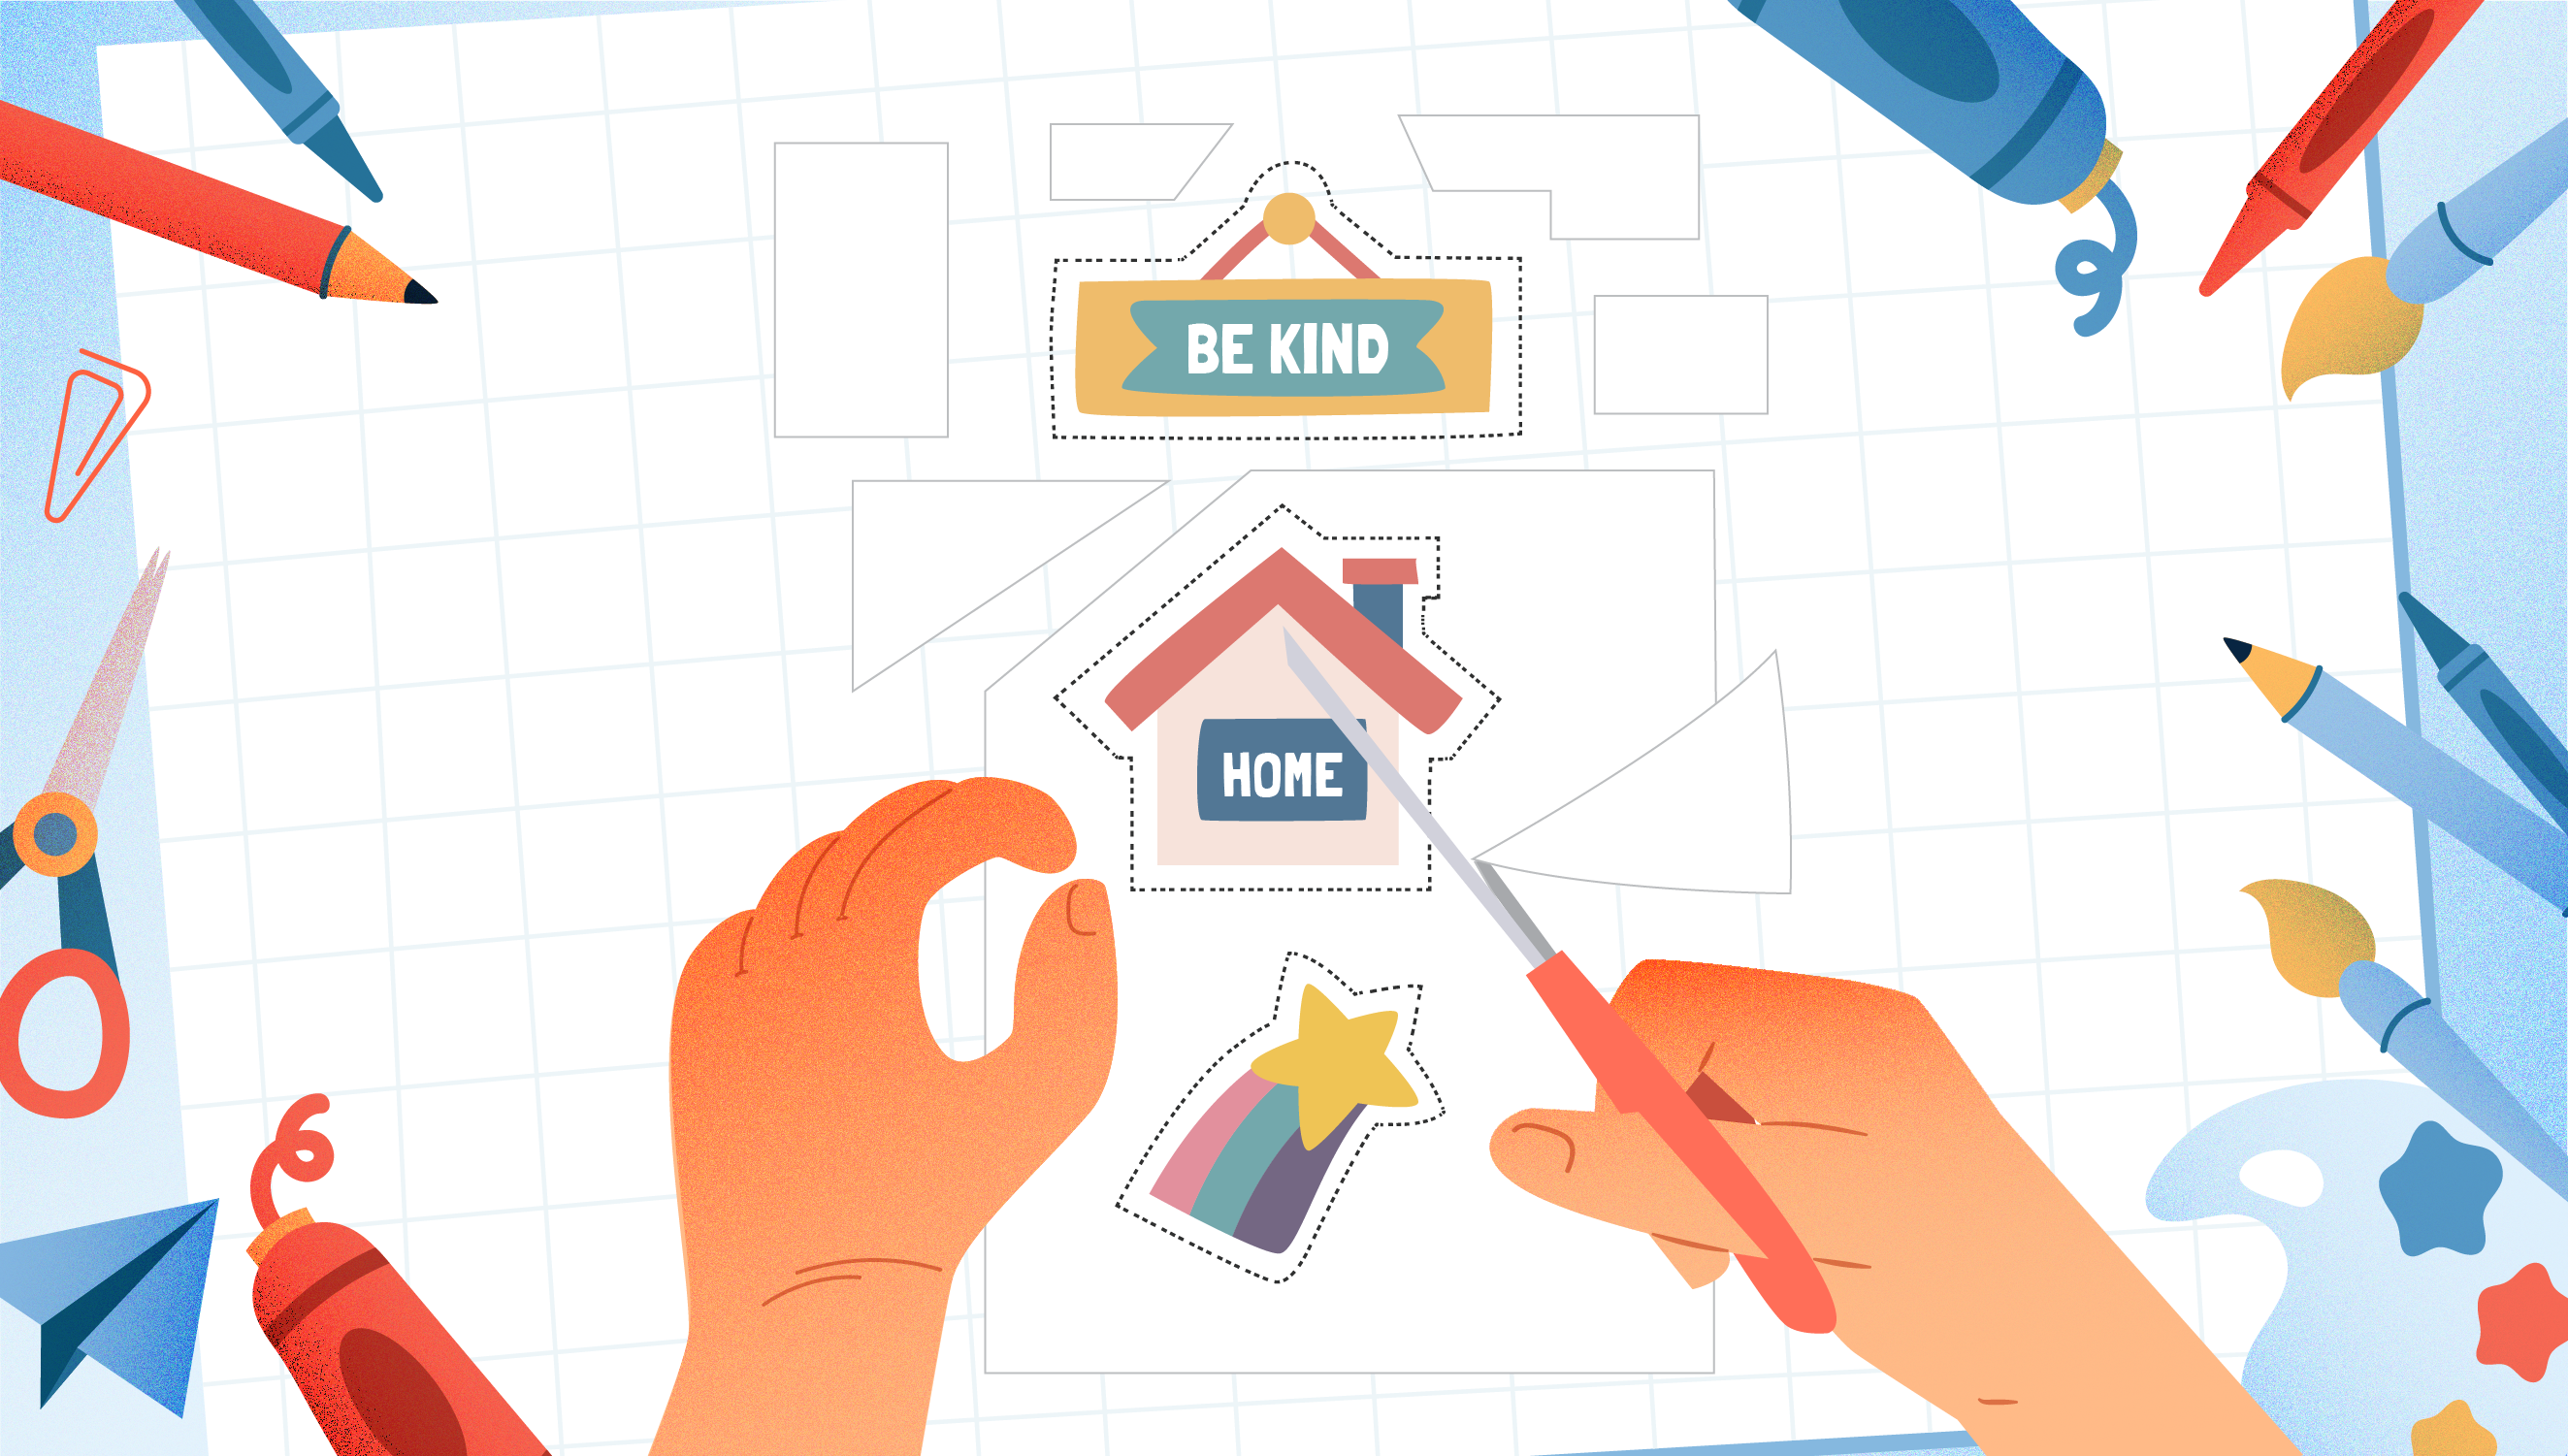
- Step 3: To separate the sticker pieces, cut them apart carefully.
- Step 4: Place the adhesive side of the transparent adhesive tape on the writing board.
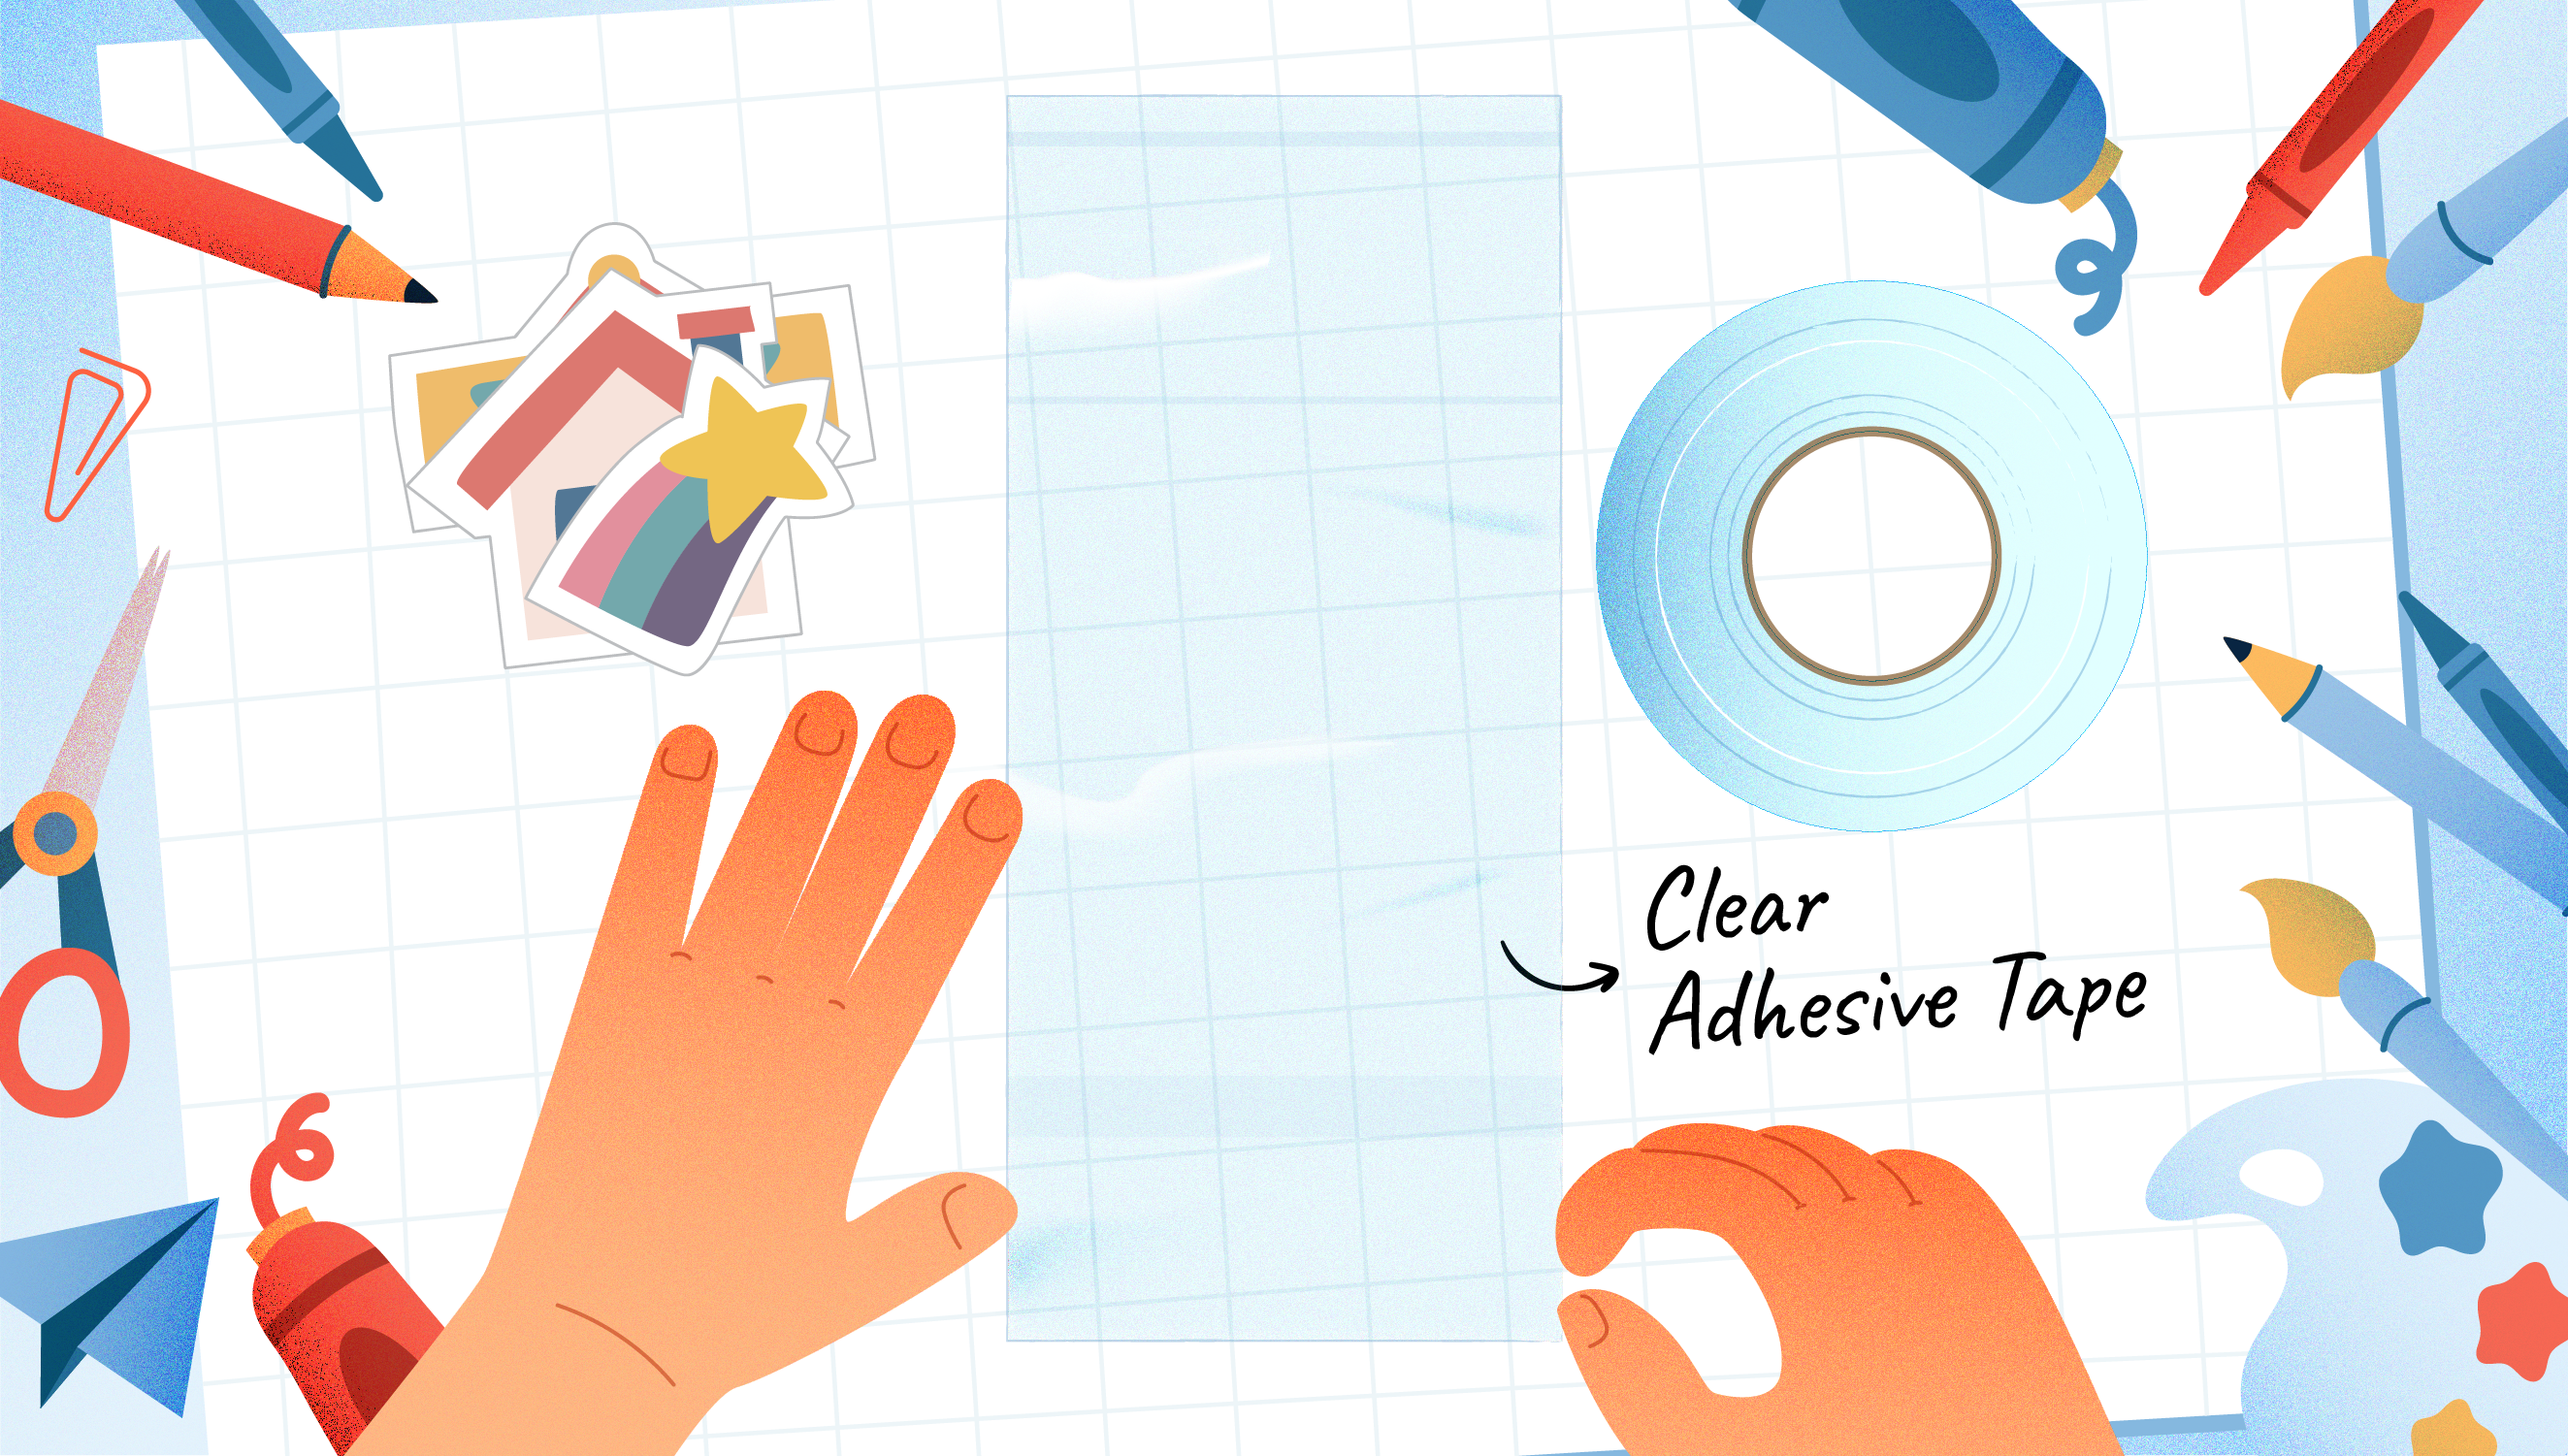
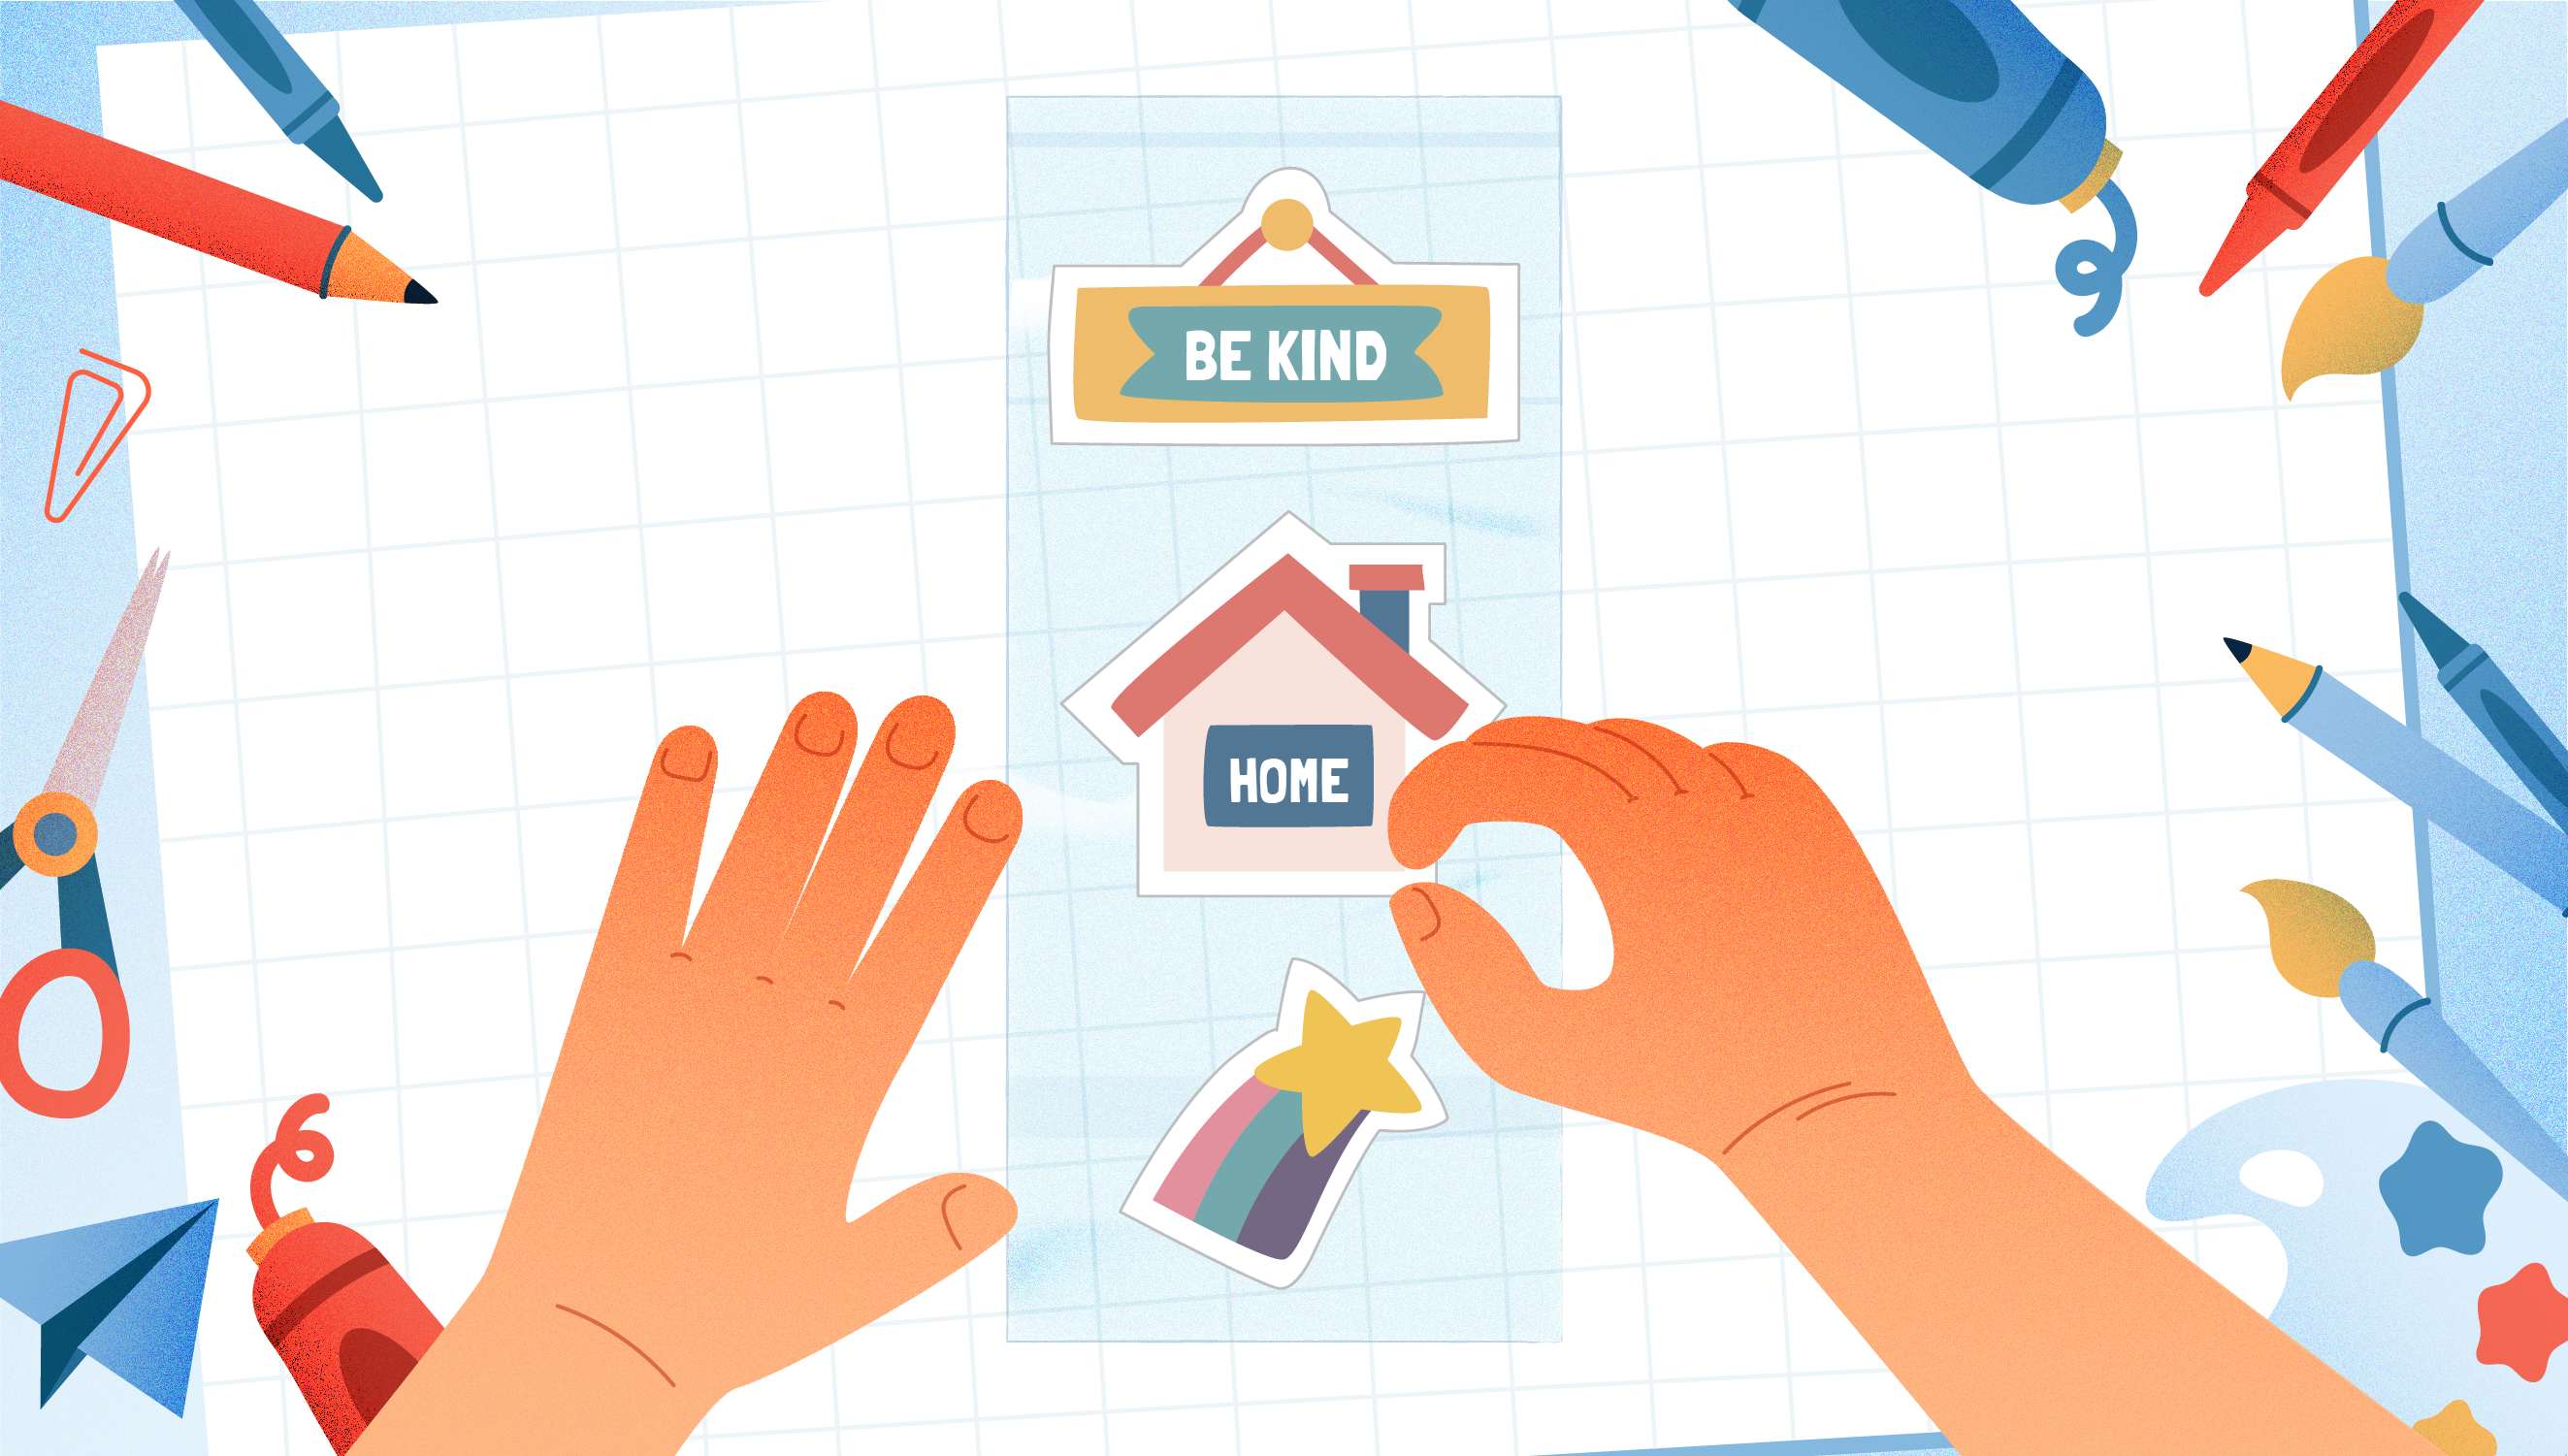
- Step 5: Position the cut-out on the transparent adhesive tape. Make sure there is enough space between all the stickers so that they can be cut properly.
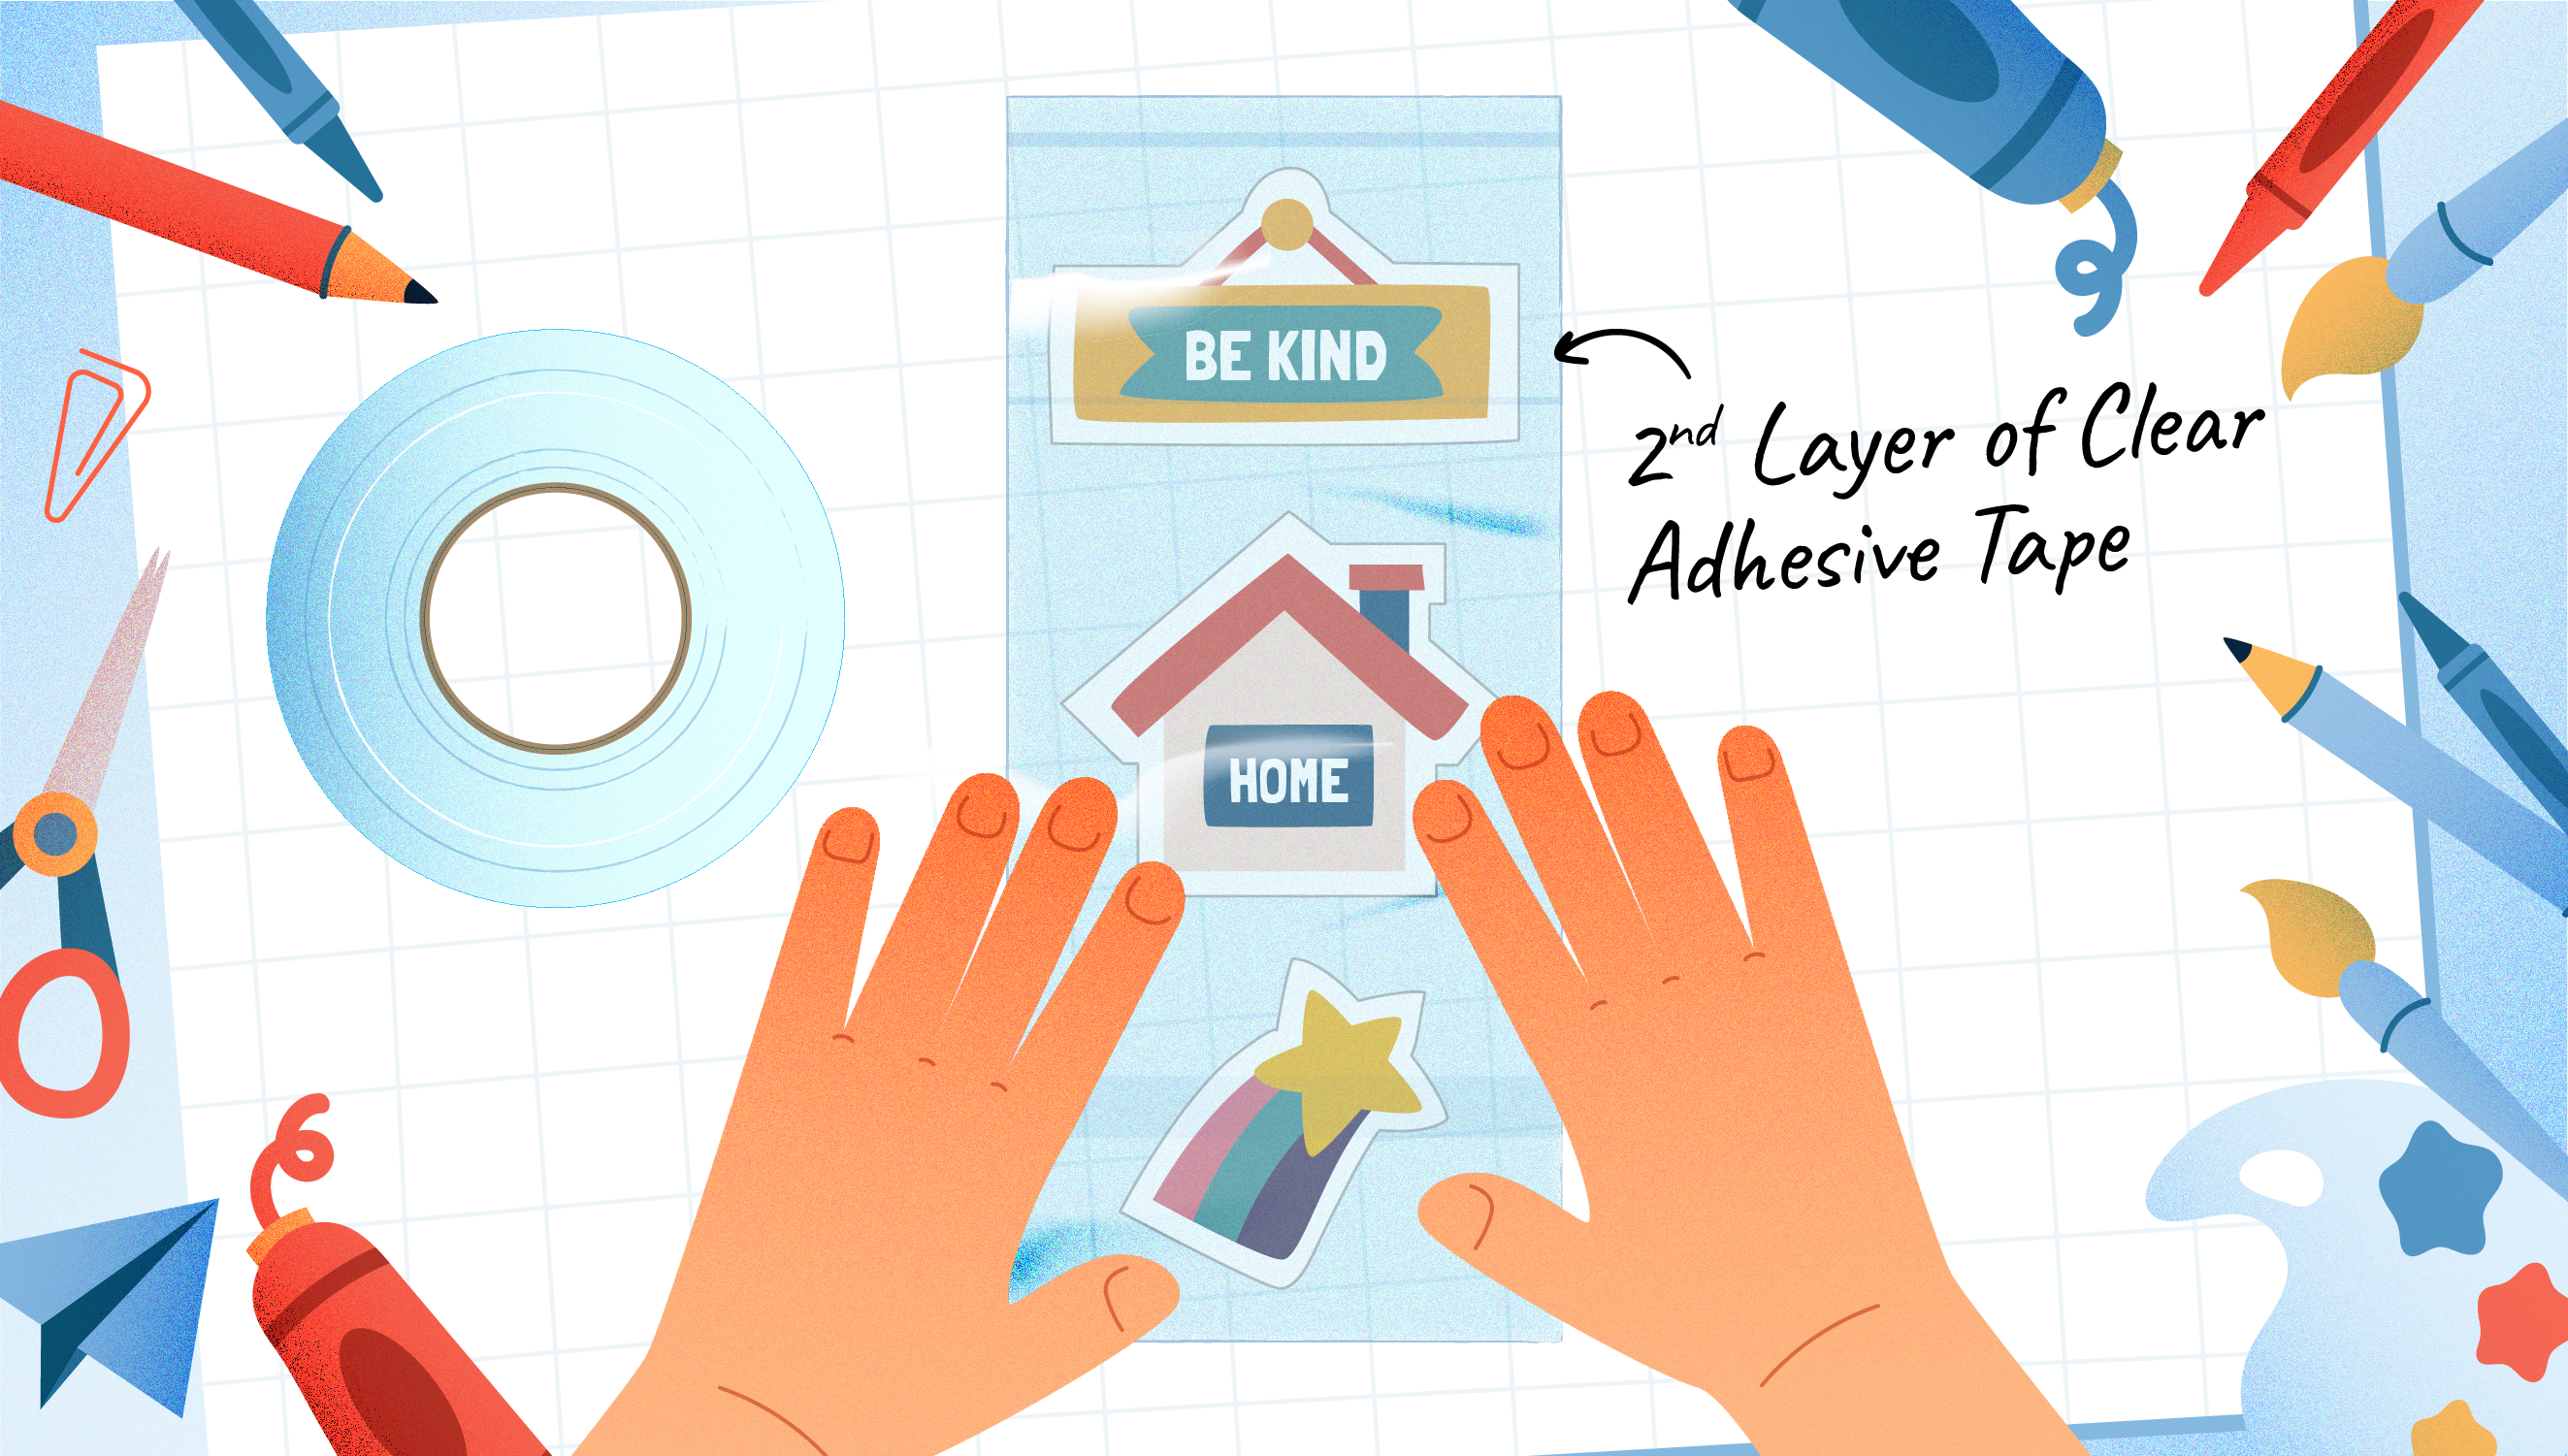
- Step 6: Now, as shown in the image, place another transparent adhesive tape on the top. The cut-outs should be sandwiched between two layers of transparent adhesive tape.
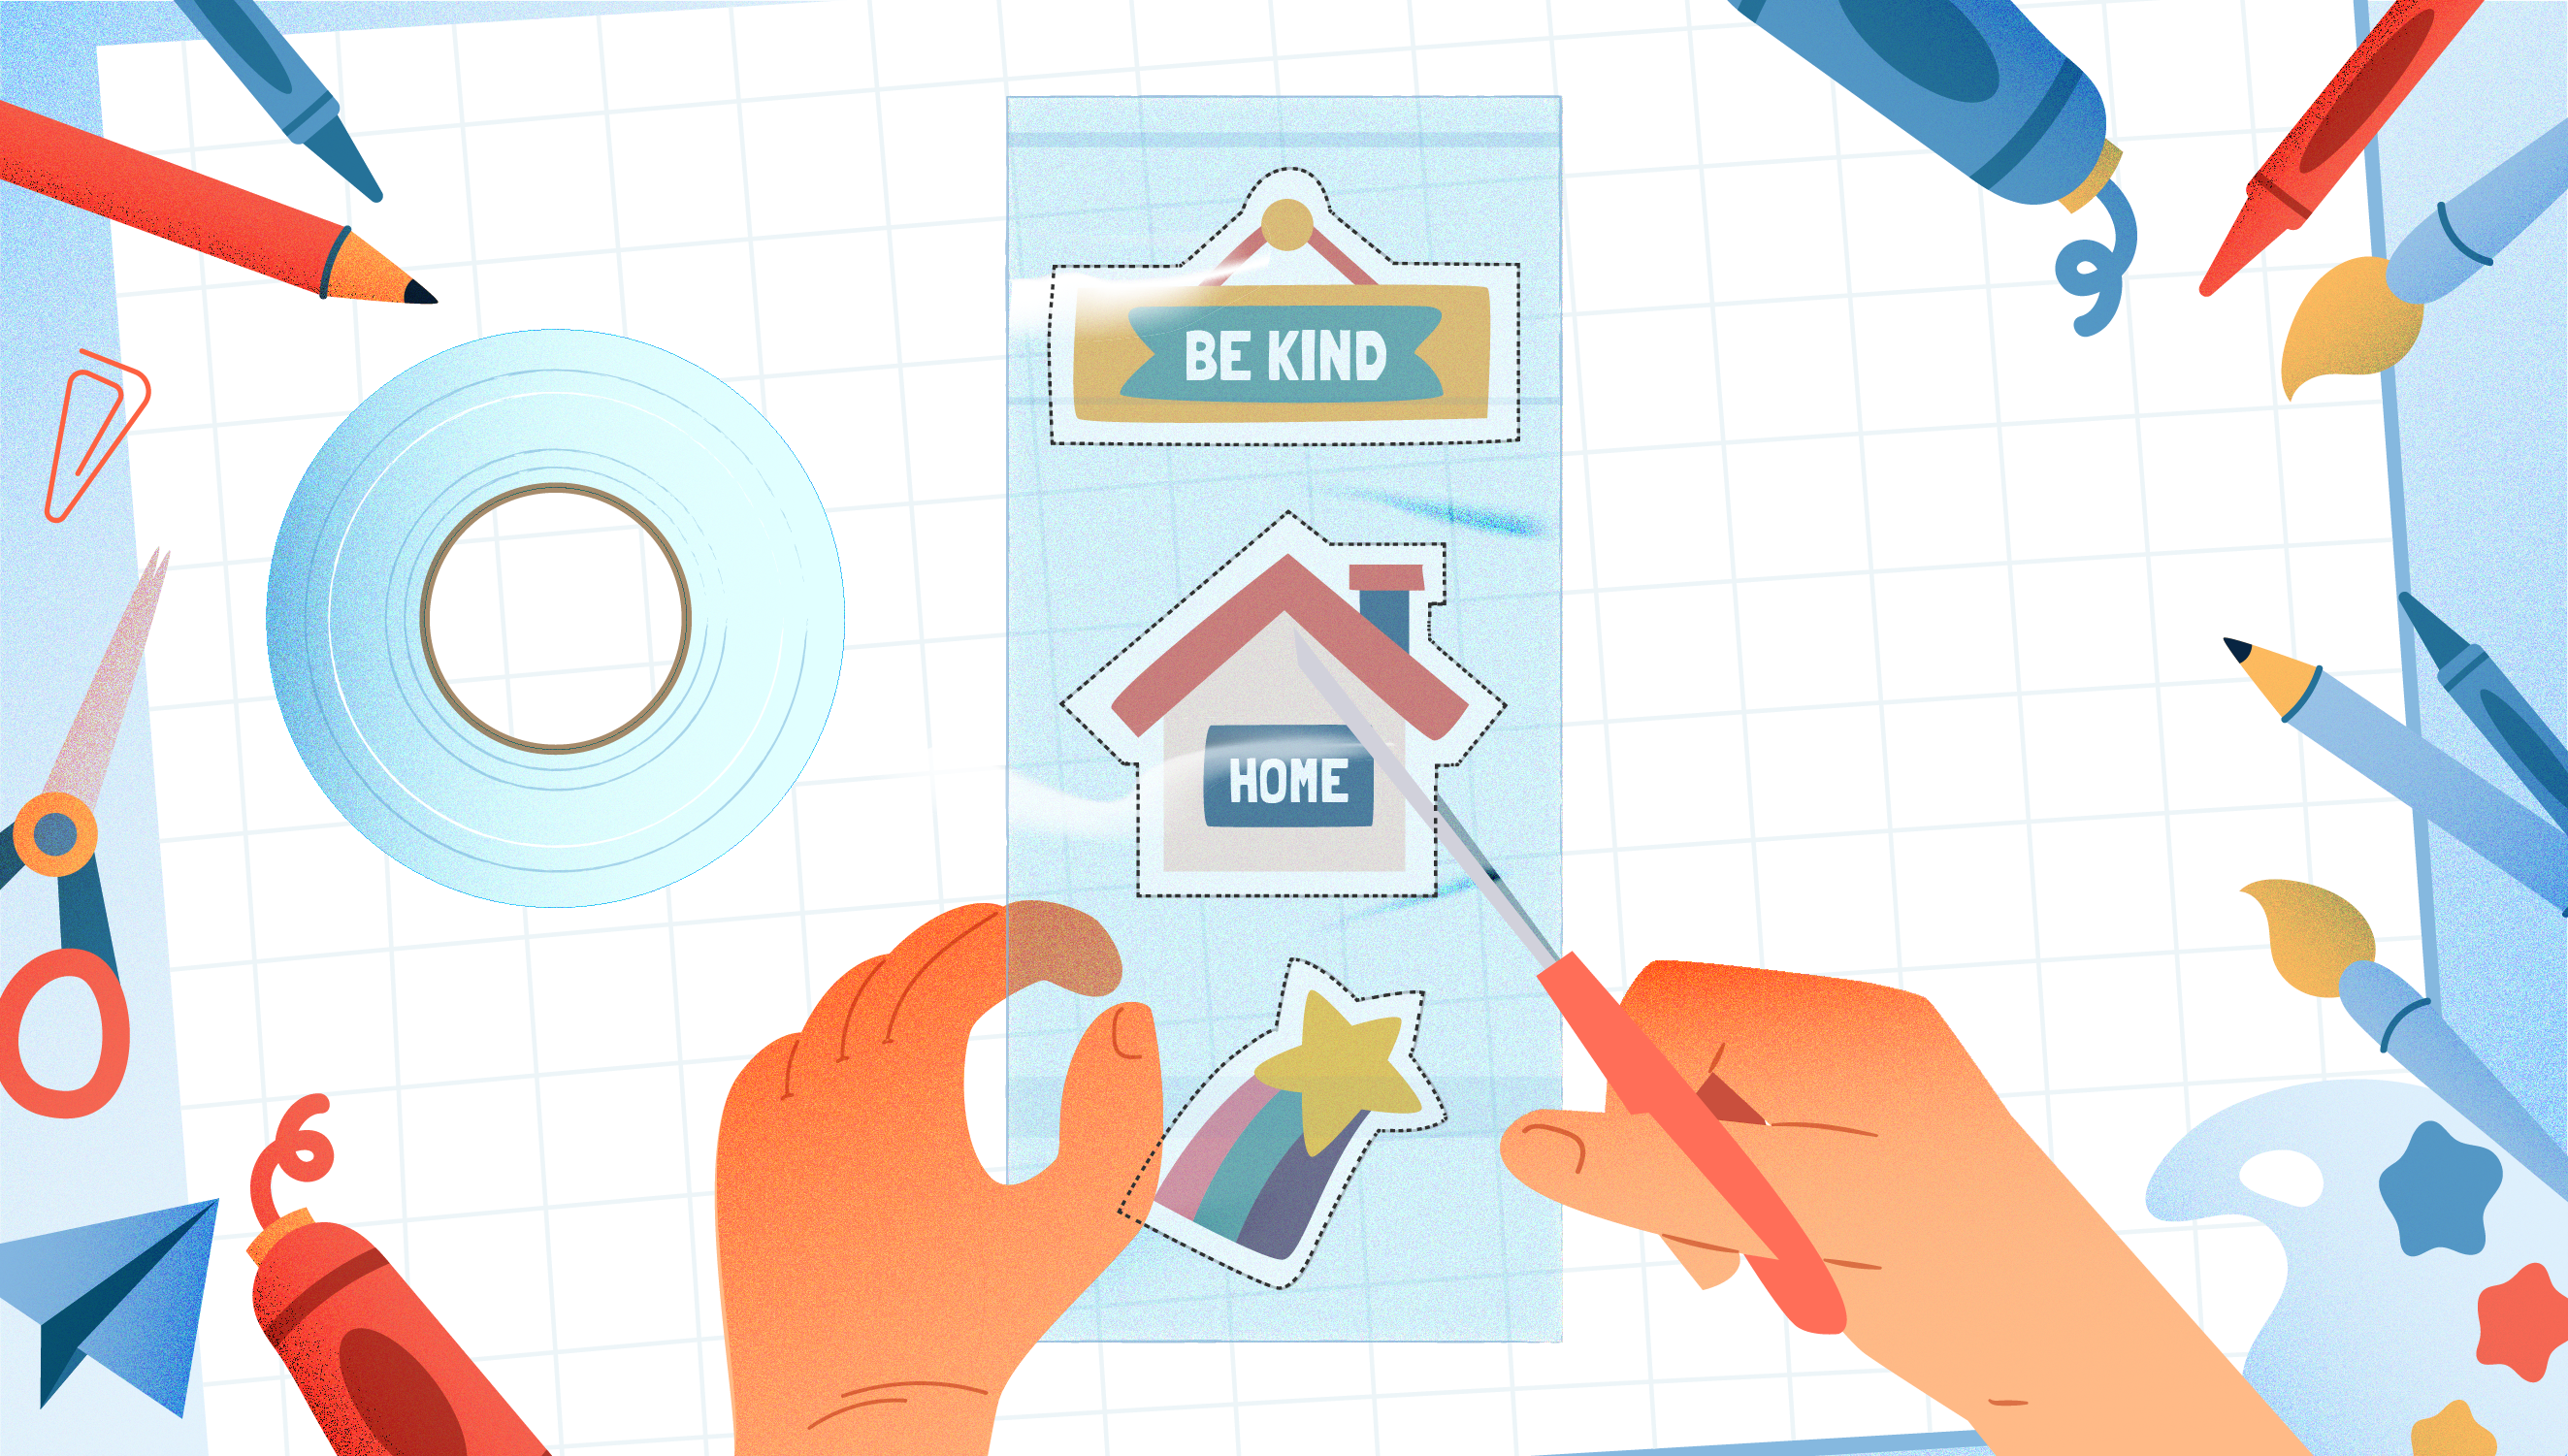
- Step 7: Cut out the shapes as shown in the image again.
- Step 8: Stick the stickers to the wax paper, and it’s done!

We hope you enjoyed making your very own DIY stickers using this step-by-step guide. Which shapes did you choose to make stickers? Let us know in the comments below.
Disclaimer: There are numerous online tutorials for the well-liked craft of making DIY stickers. Parental discretion is advised.
Also read,